
Decadent Peanut Butter Brownie Bars with Chocolate Ganache
If there is one dessert that never fails to impress, it is the combination of chocolate and peanut butter. Rich, fudgy brownies layered with a smooth peanut butter filling and finished with a glossy chocolate ganache create a dessert that feels indulgent, nostalgic, and undeniably satisfying. These Peanut Butter Brownie Bars are the kind of treat that disappears quickly at parties, bake sales, and family gatherings, yet they are simple enough to make at home without special equipment or advanced baking skills.
This recipe takes a classic boxed fudge brownie mix and elevates it into something truly bakery-worthy. The brownie base provides a dense, chocolatey foundation, while the peanut butter layer adds sweetness, creaminess, and a slightly salty contrast. The final ganache layer seals everything together with a luxurious chocolate finish that sets beautifully and slices cleanly.
Whether you are baking for a special occasion, preparing a dessert tray, or simply craving a rich chocolate-peanut butter dessert, these bars deliver on every level. This detailed guide will walk you through each step, explain why the recipe works, and offer helpful tips, variations, and storage advice so you can achieve perfect results every time.
Why This Recipe Works
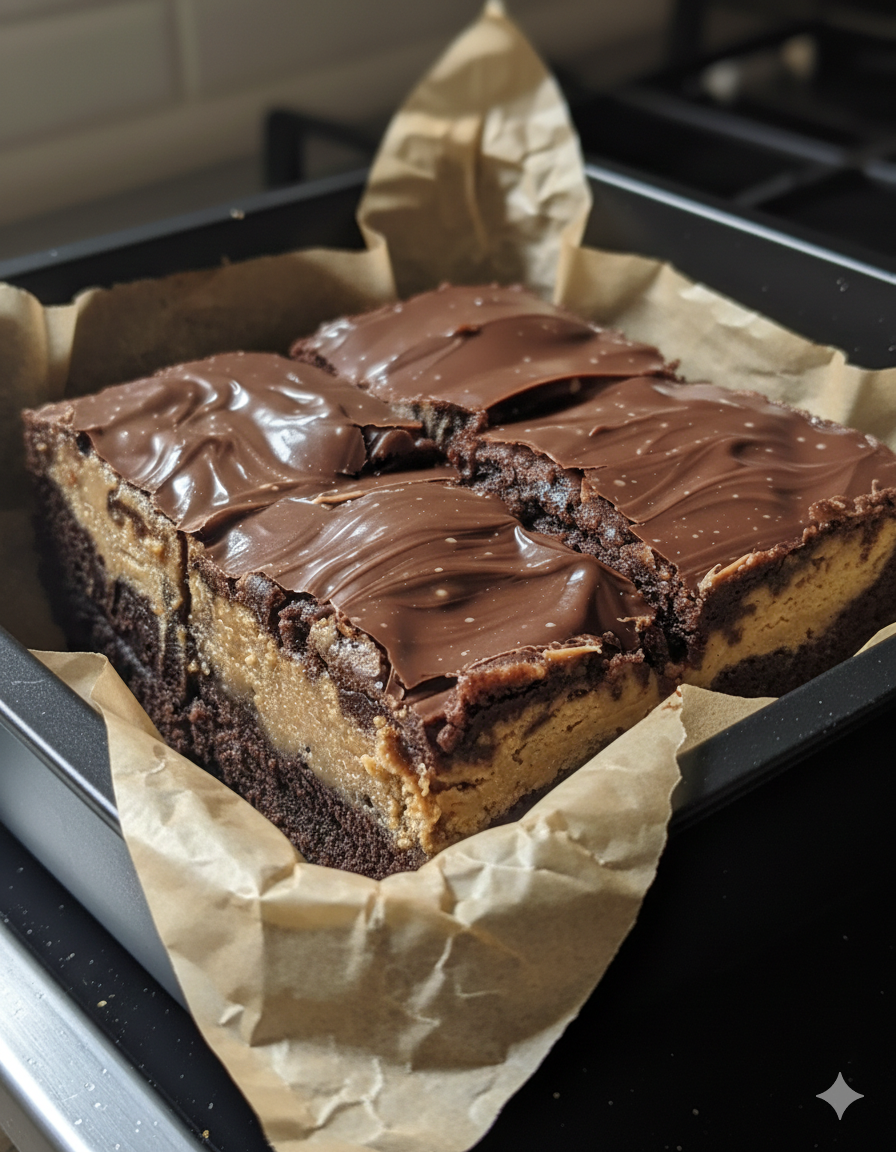
This dessert succeeds because it is built in layers, each with a clear purpose and texture:
- The brownie base is fudgy and sturdy, able to support the layers above without becoming dry or crumbly.
- The peanut butter layer is soft, smooth, and slightly fluffy, providing a creamy contrast to the dense brownie.
- The chocolate ganache adds richness and visual appeal while balancing the sweetness with deep chocolate flavor.
Using a boxed brownie mix keeps the recipe accessible and consistent, but the added layers transform it into something that tastes homemade and special. The result is a dessert that feels indulgent without being overly complicated.
Ingredients Overview
For the Brownie Base
- 1 box fudge brownie mix
- Eggs, oil, and water as directed on the package
You may substitute your favorite homemade brownie recipe if preferred. A fudgy brownie works best for this dessert, as a cake-like brownie can be too light to support the layers.
For the Peanut Butter Layer
- ¾ cup creamy peanut butter
- ½ cup unsalted butter, softened
- 2 cups powdered sugar
- 1 teaspoon vanilla extract
- 2–3 tablespoons milk, as needed
This layer is similar to a peanut butter frosting but slightly firmer, allowing it to hold its shape when sliced.
For the Chocolate Ganache
- 1 cup semi-sweet chocolate chips
- ½ cup heavy cream
Ganache provides a smooth, glossy finish and enhances the overall chocolate flavor of the bars.
Equipment You Will Need
- 9×13-inch baking pan
- Parchment paper or nonstick spray
- Mixing bowls
- Electric mixer or sturdy whisk
- Rubber spatula
- Small saucepan or microwave-safe bowl
- Offset spatula or spoon
Having the right tools on hand makes assembly easier and ensures clean, even layers.
Step-by-Step Directions
Step 1: Prepare the Brownie Base
Preheat your oven according to the instructions on the brownie mix package, usually between 325°F and 350°F. Lightly grease a 9×13-inch baking pan or line it with parchment paper, leaving a slight overhang on the sides to make removal easier later.
Prepare the brownie batter following the package directions. Mix just until combined, being careful not to overmix, which can lead to tough brownies.
Pour the batter into the prepared pan and spread it evenly with a spatula. Bake according to the package instructions, checking for doneness a few minutes before the suggested time. The brownies should be set around the edges but slightly soft in the center for a fudgy texture.
Once baked, remove the pan from the oven and place it on a wire rack to cool completely. This step is crucial. If the brownies are even slightly warm, the peanut butter layer may melt and lose its structure.
Step 2: Make the Peanut Butter Layer
In a large mixing bowl, combine the softened unsalted butter and creamy peanut butter. Using an electric mixer or a sturdy spoon, beat until the mixture is smooth and well blended.
Add the powdered sugar one cup at a time, mixing well after each addition. This gradual approach helps prevent lumps and ensures a smooth texture.
Stir in the vanilla extract. Then add milk, one tablespoon at a time, until the mixture reaches a smooth, spreadable consistency. The filling should be thick but not stiff, similar to a soft frosting.
Taste the mixture and adjust if needed. If you prefer a slightly less sweet filling, you may reduce the powdered sugar slightly, though this will affect firmness.
Step 3: Assemble the Peanut Butter Layer
Once the brownies are completely cool, spoon the peanut butter mixture onto the surface. Use an offset spatula or the back of a spoon to spread it evenly from edge to edge.
Take your time with this step to ensure an even layer. A smooth peanut butter layer not only looks better but also ensures consistent flavor in every bite.
After spreading, place the pan in the refrigerator for 20–30 minutes to allow the peanut butter layer to firm up slightly. This makes it easier to add the ganache without mixing layers.
Step 4: Prepare the Chocolate Ganache
Place the semi-sweet chocolate chips in a heat-safe bowl. In a small saucepan, heat the heavy cream over medium heat until it just begins to simmer. Do not let it boil.
Pour the hot cream over the chocolate chips and let it sit undisturbed for 2–3 minutes. This allows the chocolate to melt gently.
After resting, stir the mixture slowly from the center outward until the ganache becomes smooth and glossy. If needed, you may microwave the mixture in short 10-second bursts, stirring between each, until fully melted.
Allow the ganache to cool slightly before pouring. It should still be pourable but not hot.
Step 5: Add the Ganache Layer
Remove the pan from the refrigerator and gently pour the ganache over the peanut butter layer. Use a spatula to spread it evenly, making sure it reaches the edges.
Tap the pan lightly on the counter to release any air bubbles and create a smooth surface.
Return the pan to the refrigerator for at least 1 hour, or until the ganache is fully set.
Cutting and Serving
Once the bars are fully chilled and set, remove them from the pan using the parchment overhang if applicable. Place on a cutting board and use a sharp knife to cut into squares or rectangles.
For clean slices, wipe the knife with a warm, damp cloth between cuts. These bars are rich, so smaller portions are often ideal.
Serve chilled or at room temperature, depending on preference. Chilled bars have firmer layers, while room-temperature bars are softer and creamier.
Texture and Flavor Profile
These bars offer a satisfying contrast of textures. The brownie base is dense and fudgy, the peanut butter layer is creamy and slightly fluffy, and the ganache is smooth and velvety.
Flavor-wise, the sweetness of the peanut butter filling balances the deep chocolate notes of the brownie and ganache. The slight saltiness from the peanut butter enhances the overall taste, preventing the dessert from feeling overly sweet.
Storage and Make-Ahead Tips
These Peanut Butter Brownie Bars store exceptionally well, making them ideal for advance preparation.
- Refrigerator: Store in an airtight container for up to 5 days.
- Freezer: Freeze individual bars or the entire slab, tightly wrapped, for up to 2 months. Thaw overnight in the refrigerator before serving.
If stacking bars, place parchment paper between layers to prevent sticking.
Variations and Customizations
This recipe is highly adaptable. Here are a few ideas to customize it:
- Crunchy Peanut Butter: Substitute crunchy peanut butter for added texture.
- Dark Chocolate Ganache: Use dark chocolate chips for a more intense chocolate flavor.
- Salted Finish: Sprinkle a small amount of flaky sea salt over the ganache before it sets.
- Chocolate Peanut Butter Swirl: Swirl melted peanut butter into the ganache for a marbled effect.
- Gluten-Free: Use a gluten-free brownie mix to accommodate dietary needs.
Each variation keeps the spirit of the recipe while offering a slightly different experience.
Troubleshooting Common Issues
Peanut butter layer too soft:
Add a bit more powdered sugar and chill longer before adding ganache.
Ganache looks dull or grainy:
This can happen if the cream was too hot or the chocolate overheated. Stir gently and avoid boiling the cream.
Brownies too crumbly:
Ensure you are using a fudgy brownie mix and not overbaking the base.
Perfect Occasions for This Dessert
These bars are ideal for:
- Holiday dessert trays
- Potlucks and parties
- Bake sales
- Family gatherings
- Make-ahead desserts for entertaining
They travel well, slice neatly, and appeal to a wide range of tastes.
Final Thoughts
Peanut Butter Brownie Bars with Chocolate Ganache are a celebration of classic flavors done exceptionally well. By layering a fudgy brownie base with a creamy peanut butter filling and a rich chocolate topping, this recipe transforms simple ingredients into a dessert that feels indulgent and special.
Whether you are an experienced baker or just starting out, this recipe is approachable, reliable, and deeply satisfying. Once you try it, it is likely to become a permanent addition to your dessert rotation.