
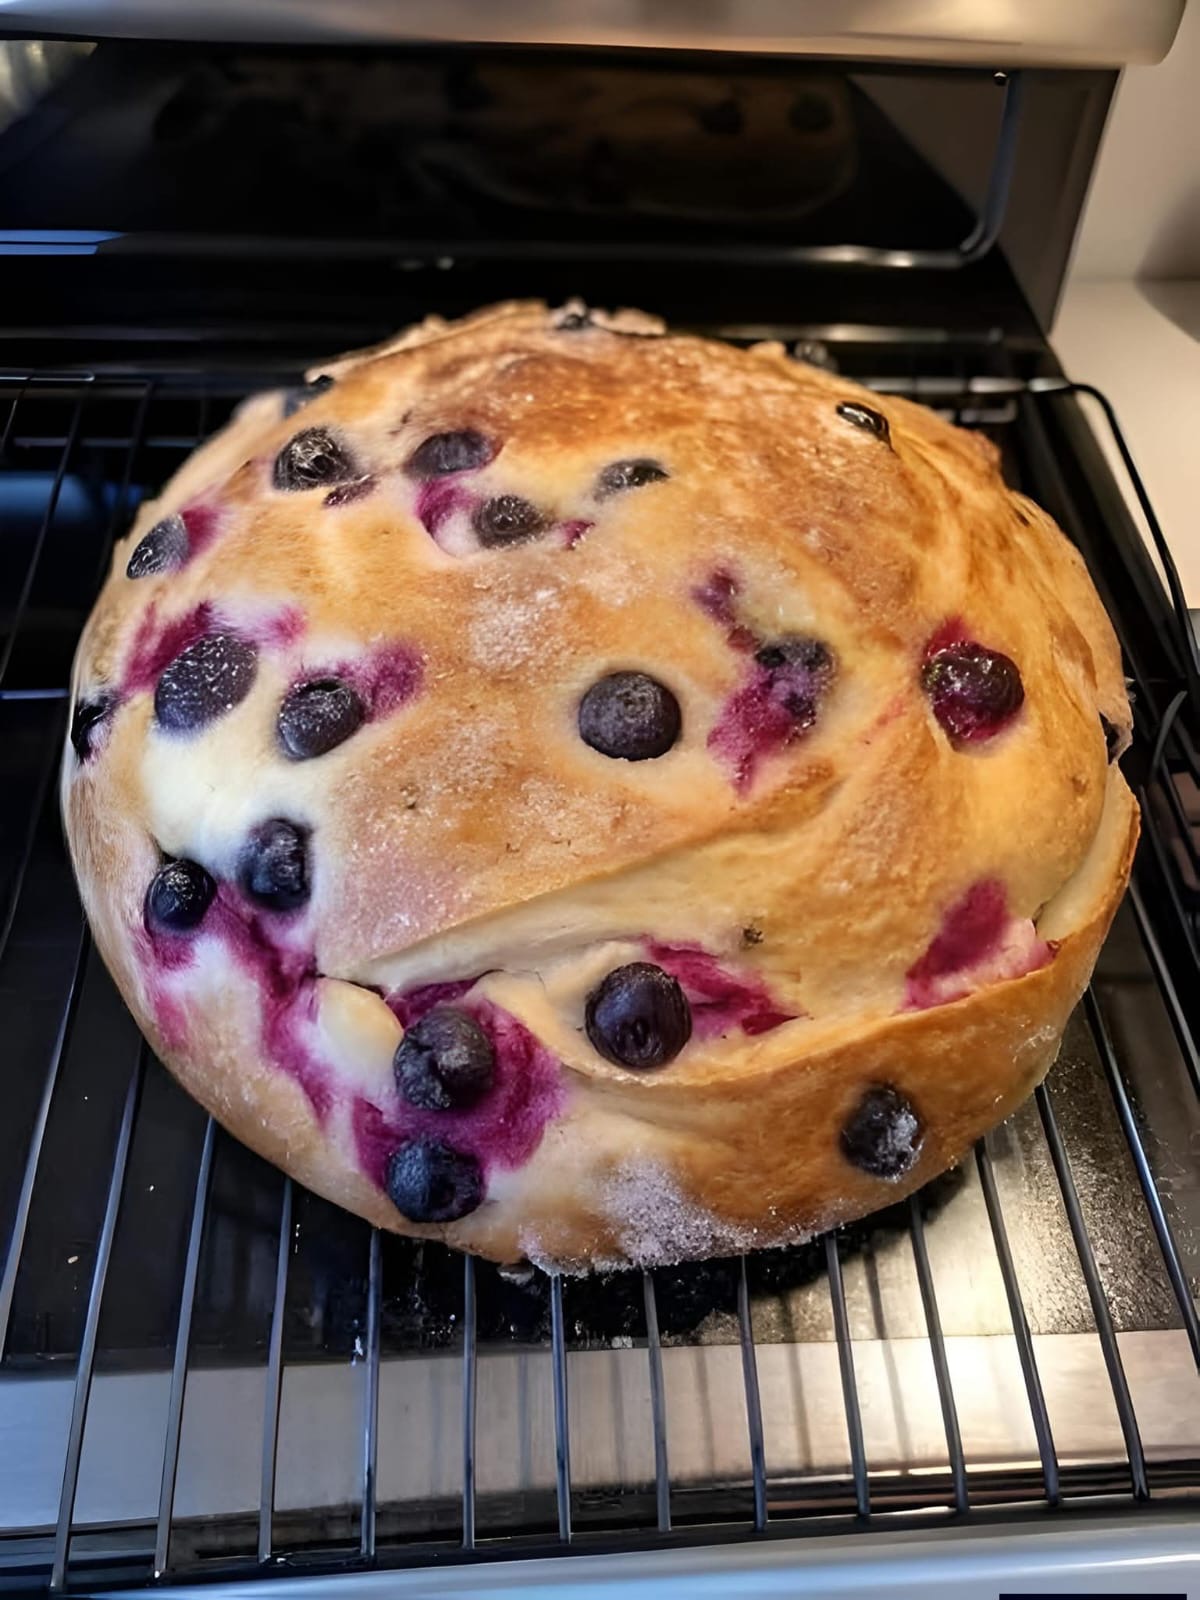
Blueberry Cream Cheese Sourdough Bread
Few things feel as comforting and special as homemade sourdough bread, and when you add juicy blueberries and rich, creamy pockets of cream cheese, it becomes something truly memorable. This Blueberry Cream Cheese Sourdough Bread is the perfect balance of tangy, lightly sweet, and deeply satisfying. It’s ideal for breakfast, brunch, or a slightly indulgent afternoon snack, and it looks stunning sliced open with its swirls of fruit and creamy filling.
This recipe is written for home bakers who already have an active sourdough starter and want to expand beyond basic loaves. While it may look impressive, the process is approachable and forgiving, and the results are absolutely worth the time. This guide walks you through every step in detail, from understanding your ingredients to shaping, baking, and storing your finished loaf.
Why Blueberry Cream Cheese Sourdough?
Sourdough is known for its complex flavor, chewy texture, and naturally leavened structure. Adding blueberries introduces bursts of sweetness and acidity that complement the tang of the fermented dough, while cream cheese brings richness and contrast. Together, they create a bread that feels almost like a pastry but still maintains the integrity of a rustic sourdough loaf.
This bread is:
- Naturally leavened with sourdough starter
- Soft and tender inside with a lightly crisp crust
- Studded with juicy blueberries
- Filled with creamy pockets of cream cheese
- Versatile enough to eat plain, toasted, or lightly sweetened
Unlike quick breads or sweet yeast loaves, this sourdough version has depth of flavor that develops slowly through fermentation. The result is not overly sweet, making it perfect for both sweet and savory pairings.
Ingredients Overview
Ingredients
- 100 g active sourdough starter
- 440 g all-purpose flour
- 260 g water
- 6 g salt
- 1+ cup blueberries
- 8+ oz cream cheese, cubed
Each ingredient plays an important role in the structure, flavor, and texture of the final loaf. Understanding how they work together will help you achieve consistent, bakery-quality results.
Understanding the Ingredients
Active Sourdough Starter
Your starter should be active, bubbly, and at its peak when you begin mixing the dough. A healthy starter provides both leavening and flavor. If your starter is weak or underfed, the dough may rise slowly or unevenly.
For best results, feed your starter 4–6 hours before mixing, using equal parts flour and water by weight, and use it when it has doubled in size and smells pleasantly tangy.
All-Purpose Flour
All-purpose flour keeps this bread tender and approachable. While bread flour can be used for a chewier crumb, all-purpose flour works beautifully here, especially with the added fillings. It allows the bread to stay soft without becoming too dense.
If you prefer, you can replace up to 50 g of the flour with bread flour for slightly more structure, but it is not necessary.
Water
Water hydrates the flour and allows gluten to form. The hydration level in this dough is moderate, making it easy to handle while still producing an open, soft crumb. Use room-temperature water to keep fermentation steady.
Salt
Salt strengthens gluten, regulates fermentation, and enhances flavor. Even in a lightly sweet loaf like this, salt is essential to balance the blueberries and cream cheese.
Blueberries
Fresh or frozen blueberries can be used. Fresh blueberries provide firmer bursts of fruit, while frozen blueberries tend to bleed more color into the dough, creating beautiful purple streaks.
If using frozen blueberries, do not thaw them before adding, as thawed berries release excess liquid and can make the dough overly wet.
Cream Cheese
Cream cheese adds richness and creamy contrast to the tangy dough and sweet berries. Use full-fat cream cheese for the best texture and flavor. Cube it and keep it cold until ready to use, which helps prevent it from fully melting into the dough during shaping.
Equipment You’ll Need
- Large mixing bowl
- Kitchen scale
- Bench scraper
- Clean work surface
- Proofing basket or bowl lined with a floured towel
- Dutch oven or covered baking vessel
- Parchment paper
- Sharp knife or bread lame
Dough Schedule Overview
This bread follows a typical sourdough timeline, which can be adjusted to fit your schedule:
- Mix dough: 30 minutes
- Bulk fermentation: 4–6 hours
- Shaping and filling: 30 minutes
- Cold proof: 8–14 hours
- Bake: 45–50 minutes
The long fermentation improves flavor and digestibility, while the cold proof makes the dough easier to score and bake.
Step-by-Step Instructions
Step 1: Mix the Dough
In a large bowl, combine:
- 100 g active sourdough starter
- 260 g water
Stir until the starter is mostly dissolved. Add:
- 440 g all-purpose flour
Mix until no dry flour remains. The dough will look shaggy and slightly sticky. Cover the bowl and let the dough rest for 30 minutes. This rest period, called autolyse, allows the flour to hydrate and begins gluten development without kneading.
Step 2: Add Salt
Sprinkle 6 g of salt over the dough. Using damp hands, fold and pinch the dough to fully incorporate the salt. The dough will tighten slightly and feel smoother.
Cover and let rest for 30 minutes.
Step 3: Stretch and Folds
Over the next 2 hours, perform 3–4 sets of stretch and folds at 30-minute intervals.
To stretch and fold:
- Wet your hands lightly.
- Grab one side of the dough, stretch it upward, and fold it over itself.
- Rotate the bowl and repeat on all four sides.
These folds strengthen the dough without kneading and help create structure to support the fillings later.
Step 4: Bulk Fermentation
After the final stretch and fold, cover the dough and let it rise at room temperature until it increases in volume by about 40–50%. This usually takes 2–3 additional hours, depending on room temperature and starter strength.
The dough should look airy and feel lighter, with small bubbles visible along the sides.
Preparing the Fillings
While the dough is fermenting, prepare your fillings.
Blueberries
- Measure 1 or more cups of blueberries.
- If using fresh, rinse and dry thoroughly.
- If using frozen, keep them frozen until use.
Cream Cheese
- Cut 8 or more ounces of cream cheese into small cubes, about ½ inch in size.
- Keep chilled until shaping time.
Cold cream cheese is easier to handle and creates distinct pockets in the finished loaf.
Shaping the Dough with Fillings
Step 1: Pre-Shape
Turn the dough out onto a lightly floured surface. Gently shape it into a loose round, being careful not to deflate it. Let it rest uncovered for 20–30 minutes. This relaxes the gluten and makes final shaping easier.
Step 2: Final Shape and Filling
Gently flatten the dough into a rectangle, about 1 inch thick. Evenly distribute the blueberries and cream cheese cubes across the surface, leaving a small border around the edges.
Fold the dough like a letter:
- Fold the left side over the center.
- Fold the right side over the top.
- Roll the dough from the top down, enclosing the fillings.
Gently tuck and tighten the dough into a round or oval shape, sealing the seams as best you can.
Step 3: Proofing
Place the shaped dough seam-side up into a well-floured proofing basket or towel-lined bowl. Cover and refrigerate for 8–14 hours.
The cold proof improves flavor, firms up the dough, and makes baking easier.
Baking the Bread
Step 1: Preheat the Oven
Place a Dutch oven with its lid inside the oven and preheat to 475°F (245°C) for at least 45 minutes.
Step 2: Score and Bake
Remove the dough from the refrigerator and gently turn it out onto parchment paper. Score the top with a sharp knife or lame, making one deep slash to allow controlled expansion.
Carefully transfer the dough into the hot Dutch oven, cover with the lid, and bake for:
- 25 minutes covered
- 20–25 minutes uncovered
The bread is done when the crust is deeply golden and the internal temperature reaches about 205–210°F (96–99°C).
Cooling and Slicing
Allow the bread to cool on a wire rack for at least 1 hour before slicing. Cutting too early can result in a gummy interior, especially with the added moisture from the blueberries and cream cheese.
Once cooled, slice to reveal swirls of purple berries and creamy pockets throughout the loaf.
Serving Suggestions
This Blueberry Cream Cheese Sourdough is incredibly versatile:
- Toast slices lightly and serve plain
- Add a drizzle of honey or maple syrup
- Spread with butter or extra cream cheese
- Serve alongside yogurt and fresh fruit
- Use for a sweet breakfast sandwich
It pairs beautifully with coffee, tea, or a glass of milk.
Storage Tips
- Store at room temperature, wrapped loosely, for up to 2 days
- Refrigerate for up to 5 days for longer freshness
- Freeze sliced bread for up to 2 months
To freeze, wrap slices individually and thaw at room temperature or toast directly from frozen.
Troubleshooting Common Issues
Dough Too Wet
Blueberries can release moisture. If the dough feels overly sticky, lightly flour your hands during shaping, but avoid adding too much extra flour to the dough itself.
Uneven Filling Distribution
Flatten the dough evenly before adding fillings, and avoid overloading any one area.
Bread Too Dense
This usually indicates under-fermentation. Allow more time during bulk fermentation or ensure your starter is active and strong.
Final Thoughts
Blueberry Cream Cheese Sourdough Bread is a beautiful example of how sourdough can move beyond the everyday loaf and into something truly special. The slow fermentation, balanced sweetness, and rich filling make this bread ideal for sharing, gifting, or simply enjoying at home.
With patience and attention to detail, this recipe rewards you with a loaf that looks impressive, tastes complex, and feels deeply satisfying to make. Whether you are expanding your sourdough skills or looking for a standout recipe for your website or table, this bread is sure to become a favorite.