
Homemade Chunky Ice Cream
A Rich, Creamy, No-Churn Frozen Dessert You Can Customize at Home
There is something uniquely satisfying about making ice cream at home. Unlike store-bought versions, homemade ice cream gives you full control over flavor, texture, sweetness, and mix-ins. This Homemade Chunky Ice Cream recipe is especially appealing because it requires only three base ingredients, no ice cream machine, and very little hands-on time. Despite its simplicity, the result is a luxuriously creamy ice cream with a dense, scoopable texture and endless possibilities for customization.
This recipe is built on a classic no-churn method that combines cold heavy whipping cream, sweetened condensed milk, and vanilla extract. When whipped and folded correctly, these ingredients create a smooth, rich base that freezes beautifully without forming ice crystals. From there, you can add chunky mix-ins such as chocolate pieces, cookies, nuts, fruit, or swirls of caramel or fudge to create your own signature flavors.
Whether you are an experienced home cook or a beginner in the kitchen, this recipe is approachable, reliable, and rewarding. It is perfect for summer desserts, family gatherings, or anytime you want a homemade treat without complicated equipment or techniques.
In this article, you will find a detailed explanation of the ingredients, step-by-step instructions, tips for perfect texture, flavor variations, storage advice, and answers to common questions. By the end, you will have all the knowledge you need to confidently make and customize chunky ice cream at home.
Why Make Homemade Chunky Ice Cream?
Homemade ice cream offers several advantages over store-bought options. First, it allows you to control the quality of ingredients. There are no preservatives, stabilizers, or artificial flavors unless you choose to include them. Second, you can tailor the sweetness and richness to your personal taste. Third, and perhaps most importantly, you can customize the texture and mix-ins to create a truly chunky ice cream experience.
Many commercial ice creams contain minimal add-ins, often concentrated in one part of the container. With homemade chunky ice cream, every scoop can be loaded with chocolate, cookies, nuts, or fruit, exactly the way you like it.
This recipe is also ideal for those who do not own an ice cream maker. The no-churn method relies on whipped cream to incorporate air and sweetened condensed milk to prevent ice crystals, resulting in a creamy texture without churning.
Understanding the Ingredients
This recipe uses only three base ingredients, but each one plays a critical role in the final result. Understanding how they work will help you achieve consistently excellent ice cream.
Heavy Whipping Cream
Quantity: 2 cups, cold
Heavy whipping cream is the foundation of this ice cream. It contains a high percentage of fat, usually around 36–40 percent, which is essential for creating a rich and creamy texture. When whipped, the cream traps air, giving the ice cream lightness and structure.
It is important that the cream is very cold before whipping. Cold cream whips more easily and holds its shape better, which directly affects the final texture of the ice cream.
Do not substitute with light cream or half-and-half, as they do not contain enough fat to whip properly.
Sweetened Condensed Milk
Quantity: 1 cup
Sweetened condensed milk serves two purposes in this recipe. First, it provides sweetness, eliminating the need for granulated sugar. Second, its thick, syrupy consistency helps prevent ice crystals from forming during freezing.
Because sweetened condensed milk is already cooked and concentrated, it blends smoothly into the whipped cream and creates a dense, creamy base that freezes well without churning.
Vanilla Extract
Quantity: 1 teaspoon
Vanilla extract enhances the flavor of the ice cream and adds depth. Even when you plan to include chunky mix-ins, vanilla acts as a flavor foundation that balances sweetness and richness.
Use pure vanilla extract if possible, as it provides a more natural and complex flavor than imitation vanilla.
Optional Chunky Mix-Ins
While the base recipe is delicious on its own, the real appeal of chunky ice cream lies in the add-ins. These can be mixed directly into the ice cream base or layered for a marbled effect.
Popular options include:
- Chocolate chips or chocolate chunks
- Crushed cookies or sandwich cookies
- Brownie or cake pieces
- Chopped nuts
- Toasted coconut flakes
- Fresh or dried fruit
- Caramel, chocolate, or fruit sauces
- Peanut butter or nut butter swirls
The key is to add mix-ins in moderation to maintain a creamy texture while still achieving a chunky result.
Equipment Needed
One of the advantages of this recipe is that it requires minimal equipment.
- Large mixing bowl
- Electric hand mixer or stand mixer
- Rubber spatula
- Measuring cups
- Freezer-safe container with lid
A loaf pan works well as a freezing container if you do not have a dedicated ice cream container.
Step-by-Step Instructions
Step 1: Chill the Equipment
For best results, place your mixing bowl and beaters in the refrigerator or freezer for 10–15 minutes before starting. Cold equipment helps the cream whip faster and more evenly.
Step 2: Whip the Cream
Pour the cold heavy whipping cream into the chilled mixing bowl. Using an electric mixer, beat the cream on medium speed until soft peaks form. This means the cream should hold its shape briefly when the beaters are lifted but still appear smooth and slightly soft.
Avoid overwhipping, as this can cause the cream to become grainy and eventually turn into butter.
Step 3: Add the Sweetened Condensed Milk
Slowly pour the sweetened condensed milk into the whipped cream. Using a rubber spatula, gently fold it in with slow, sweeping motions. Folding rather than stirring helps preserve the air you incorporated during whipping.
Continue folding until the mixture is smooth and fully combined, with no streaks of condensed milk visible.
Step 4: Add the Vanilla Extract
Gently fold in the vanilla extract. At this stage, taste the base if desired. Keep in mind that flavors will be slightly muted once frozen.
Step 5: Incorporate Chunky Mix-Ins
Add your chosen chunky mix-ins to the ice cream base. Fold them in gently, distributing them evenly throughout the mixture.
If you are using sauces or swirls, you can layer them instead of fully mixing. Pour half of the ice cream base into your container, add a layer of sauce, then repeat and lightly swirl with a knife.
Step 6: Transfer to Freezer-Safe Container
Pour the ice cream mixture into a freezer-safe container. Smooth the top with a spatula and cover tightly with a lid or plastic wrap to prevent freezer burn.
Step 7: Freeze
Place the container in the freezer for at least 6 hours, or until the ice cream is firm enough to scoop. For best texture, allow it to freeze overnight.
Texture and Flavor Profile
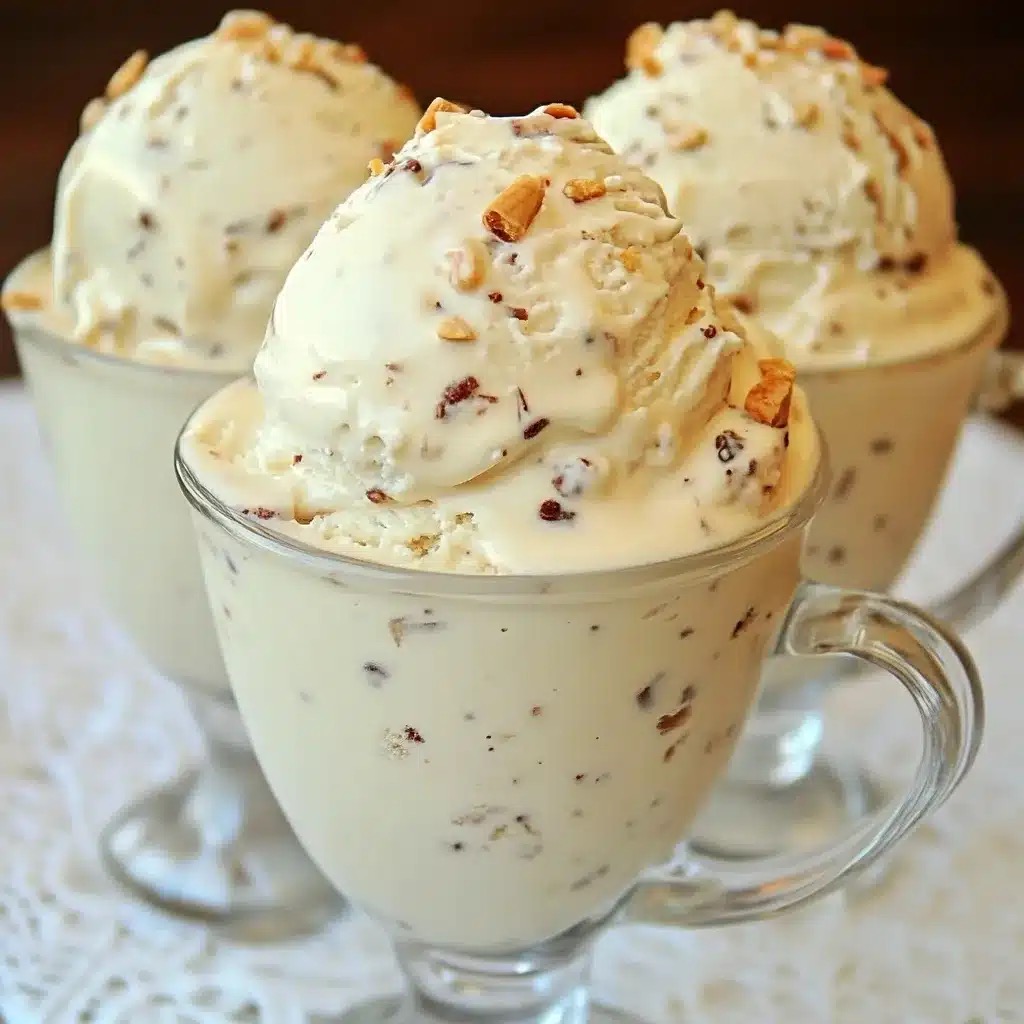
Homemade chunky ice cream made with this method has a dense, creamy texture similar to premium ice cream brands. It is rich without being heavy, sweet without being overwhelming, and smooth with just the right amount of chew from the mix-ins.
Because there is no churning, the ice cream tends to be slightly firmer straight from the freezer. Letting it sit at room temperature for a few minutes before scooping will make serving easier.
Popular Flavor Variations
Chocolate Chunk Ice Cream
Add chopped dark or milk chocolate to the base. For extra depth, use a mix of chocolate chunks and chocolate shavings.
Cookies and Cream
Fold in crushed chocolate sandwich cookies. Add them at the very end to maintain texture.
Peanut Butter Chunk
Add peanut butter cups or peanut butter chips, and swirl in extra peanut butter for a layered effect.
Fruit and Cream
Fold in chopped strawberries, mango, or peaches. Lightly macerating the fruit with sugar beforehand can enhance flavor.
Caramel Crunch
Add caramel sauce and crunchy toffee pieces for a sweet and textured ice cream.
Tips for Perfect Chunky Ice Cream
- Always use cold cream for best whipping results.
- Do not overwhip the cream, as it will affect texture.
- Fold gently to maintain airiness.
- Chop mix-ins into bite-sized pieces for even distribution.
- Avoid adding too much liquid, which can cause iciness.
Storage and Shelf Life
Homemade ice cream is best enjoyed within 1–2 weeks.
- Store in an airtight container to prevent freezer burn.
- Press a layer of plastic wrap directly onto the surface before sealing to reduce ice crystals.
- Keep ice cream toward the back of the freezer, where the temperature is most stable.
Serving Suggestions
- Serve in bowls or cones with extra toppings.
- Pair with warm brownies or cookies.
- Use as a filling for ice cream sandwiches.
- Top with fresh fruit or sauce for contrast.
Frequently Asked Questions
Can I make this recipe without an electric mixer?
While it is technically possible to whip cream by hand, it requires significant effort. An electric mixer is strongly recommended for best results.
Can I reduce the sweetness?
Sweetened condensed milk is essential for texture. Reducing it may result in icy ice cream. You can balance sweetness by using bittersweet mix-ins.
Can I make this dairy-free?
This specific recipe relies on dairy fat for structure. Dairy-free versions require different ingredients and ratios.
Final Thoughts
This Homemade Chunky Ice Cream recipe proves that incredible frozen desserts do not require complicated techniques or specialized equipment. With just three base ingredients and a little creativity, you can create a rich, creamy ice cream that rivals anything from the store.
The simplicity of the recipe makes it approachable, while the endless customization options keep it exciting. Once you master the base, you can experiment with flavors, textures, and mix-ins to suit any season or occasion.