
Japanese Cheesecake Viral – Fluffy, Light & Melt in Your Mouth
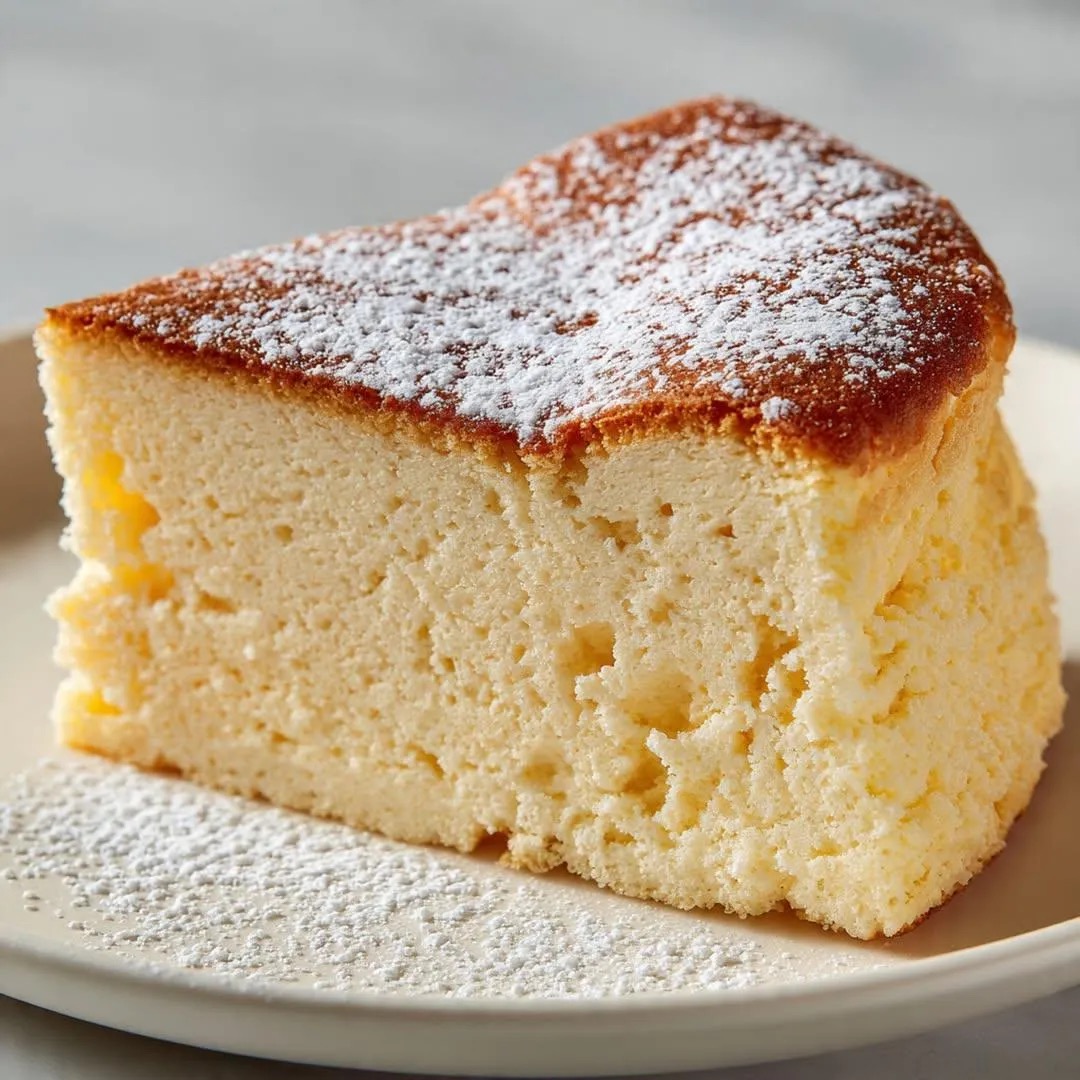
Japanese Cheesecake has taken the baking world by storm, captivating home bakers and dessert lovers with its cloud-like texture, delicate sweetness, and signature jiggle. Unlike traditional dense cheesecakes, this version is airy, soufflé-like, and incredibly soft. Each bite feels light yet rich, melting effortlessly on the tongue.
Often referred to as a Japanese Cotton Cheesecake or Soufflé Cheesecake, this dessert beautifully combines the richness of cream cheese with the structure of a sponge cake. The result is a tall, fluffy cake that trembles gently when shaken and offers a perfectly balanced sweetness.
In this comprehensive guide, you’ll find everything you need to know to create a bakery-quality Japanese Cheesecake at home. From ingredient explanations and baking science to step-by-step instructions, troubleshooting tips, and storage advice, this detailed recipe will help ensure your success.
What Makes Japanese Cheesecake Unique?
Traditional Western cheesecakes are typically dense and creamy, often baked with a biscuit crust and a heavy cream cheese filling. Japanese Cheesecake, by contrast, incorporates whipped egg whites into the batter, creating a light and airy structure similar to a chiffon cake.
The texture is:
- Soft and fluffy
- Moist but not heavy
- Lightly sweet
- Delicately creamy
It’s a dessert that feels elegant and refined without being overwhelming.
Ingredients
Main Ingredients
- 200 g cream cheese (softened)
- 50 g butter
- 0.5 cup milk
- 6 large eggs (separated)
- 0.75 cup granulated sugar
- 0.5 cup cake flour
- 1 tablespoon cornstarch
- 1 teaspoon lemon juice
- 0.25 teaspoon salt
- Optional: powdered sugar for dusting
Each ingredient plays a specific role in achieving the signature fluffy texture. Understanding their purpose will help you bake with confidence.
Ingredient Breakdown and Their Roles
Cream Cheese
The heart of the cheesecake. It provides richness and mild tanginess. Make sure it is fully softened to ensure a smooth batter.
Butter
Adds flavor and helps create a silky, luxurious texture.
Milk
Provides moisture and helps loosen the cream cheese mixture.
Eggs
Eggs are essential in two ways:
- Egg yolks contribute richness and structure.
- Egg whites are whipped into a meringue, which creates the cake’s airy texture.
Granulated Sugar
Sweetens the cake and stabilizes the meringue when beaten with egg whites.
Cake Flour
Cake flour has lower protein content than all-purpose flour, which keeps the cake tender and light.
Cornstarch
Helps stabilize the structure and contributes to a delicate crumb.
Lemon Juice
Adds subtle brightness and stabilizes the egg white foam.
Salt
Enhances flavor and balances sweetness.
Equipment You Will Need
- 8-inch round cake pan (preferably with removable bottom)
- Parchment paper
- Aluminum foil
- Large mixing bowls
- Electric hand mixer or stand mixer
- Rubber spatula
- Whisk
- Fine sieve
- Large roasting pan (for water bath)
Using the proper equipment is essential for achieving the desired height and texture.
Preparation Tips Before You Start
1. Bring Ingredients to Room Temperature
Cream cheese, butter, milk, and eggs should be at room temperature. This ensures smooth blending and better incorporation.
2. Prepare the Cake Pan Properly
Line the bottom and sides of the cake pan with parchment paper. The sides should be lined higher than the pan to support the cake as it rises.
Wrap the outside of the pan with aluminum foil to prevent water from seeping in during the water bath.
3. Preheat the Oven Correctly
Preheat your oven to 320°F (160°C). Accurate temperature is critical for preventing cracks and collapse.
Step-by-Step Instructions
Step 1: Prepare the Cream Cheese Base
In a heatproof bowl, combine cream cheese, butter, and milk. Place the bowl over a pot of simmering water (double boiler method).
Gently whisk until completely smooth and silky. Remove from heat and allow it to cool slightly.
Add egg yolks one at a time, mixing well after each addition.
Sift in cake flour and cornstarch. Whisk gently until smooth and lump-free. Avoid overmixing.
Add lemon juice and salt, and mix until incorporated.
Set aside.
Step 2: Make the Meringue
In a clean, dry bowl, beat the egg whites on medium speed until foamy.
Gradually add sugar in three additions while continuing to beat.
Increase speed and beat until soft peaks form. The meringue should be glossy and hold its shape but still have a slight curl at the tip.
Do not overbeat to stiff peaks. Overbeaten meringue can cause cracks and collapse.
Step 3: Fold the Batter
Take one-third of the meringue and gently fold it into the cream cheese mixture using a spatula.
Use slow, deliberate folding motions:
- Cut through the center.
- Scoop from the bottom.
- Turn the mixture over.
Once combined, add the remaining meringue in two batches, folding gently each time.
The goal is to maintain as much air as possible.
Step 4: Prepare for Baking
Pour the batter into the prepared cake pan.
Tap the pan lightly on the counter to release large air bubbles.
Place the cake pan into a larger roasting pan.
Pour hot water into the roasting pan until it reaches about 1 inch up the sides of the cake pan.
This water bath method ensures gentle, even baking and prevents cracking.
Step 5: Bake
Bake at 320°F (160°C) for 25 minutes.
Reduce temperature to 280°F (140°C) and bake for another 40–50 minutes.
The cake should:
- Be lightly golden on top
- Jiggle slightly in the center
- Feel set around the edges
Turn off the oven and leave the cake inside with the door slightly open for 15–20 minutes.
This gradual cooling helps prevent collapse.
Step 6: Cool Completely
Remove from oven and water bath.
Let the cake cool in the pan for about 30 minutes.
Carefully remove from the pan and peel away parchment paper.
Allow to cool completely at room temperature before refrigerating.
For best texture, chill for at least 4 hours or overnight.
Dust with powdered sugar before serving if desired.
The Science Behind the Fluffiness
Japanese Cheesecake relies heavily on meringue. When egg whites are whipped, air bubbles become trapped in a protein network. During baking:
- Air expands with heat.
- Steam forms inside the batter.
- The structure sets, trapping the air.
The water bath keeps the temperature gentle and moist, preventing rapid expansion that leads to cracks.
Understanding this helps you control texture and avoid common mistakes.
Common Problems and Solutions
Cake Collapses After Baking
Possible causes:
- Overbeaten meringue
- Underbaked center
- Sudden temperature changes
Solution:
- Beat to soft peaks only
- Allow gradual cooling in oven
Cracked Surface
Possible causes:
- Oven too hot
- No water bath
- Overmixing
Solution:
- Use oven thermometer
- Always bake in water bath
- Fold gently
Dense Texture
Possible causes:
- Deflated meringue
- Overmixing
- Old baking ingredients
Solution:
- Fold carefully
- Ensure egg whites are properly whipped
Flavor Variations
While the classic version is delicate and lightly sweet, you can customize it easily.
Matcha Japanese Cheesecake
Add 1 tablespoon matcha powder sifted with flour for a subtle green tea flavor.
Chocolate Version
Replace 2 tablespoons of flour with cocoa powder and add 50 g melted dark chocolate.
Citrus Twist
Add orange zest instead of lemon juice for a fragrant variation.
Berry Topping
Serve with fresh strawberries, blueberries, or a homemade berry compote.
Serving Suggestions
Japanese Cheesecake is best served chilled or at cool room temperature.
Perfect pairings include:
- Fresh berries
- Whipped cream
- Fruit coulis
- Light tea such as green tea
- Coffee or espresso
Its lightness makes it ideal for afternoon tea, celebrations, or elegant dinner parties.
Storage Instructions
Refrigerator
Store in an airtight container in the refrigerator for up to 4 days.
Freezer
Wrap tightly in plastic wrap and freeze for up to 2 months.
Thaw overnight in the refrigerator before serving.
Nutritional Considerations
Compared to traditional cheesecake, Japanese Cheesecake is:
- Lower in sugar
- Lighter in fat
- Lower in calories per slice
Its airy texture makes portions satisfying without feeling heavy.
Why This Recipe Went Viral
Japanese Cheesecake became viral because of its:
- Visually satisfying jiggle
- Tall, fluffy appearance
- Simple ingredient list
- Dramatic transformation in the oven
Its delicate wobble and melt-in-your-mouth texture make it highly shareable and visually appealing.
Tips for Success Every Time
- Use room temperature ingredients.
- Beat egg whites in a clean bowl free of grease.
- Fold gently and patiently.
- Bake slowly with a water bath.
- Cool gradually to avoid collapse.
- Chill thoroughly before slicing.
Taking your time at each step ensures bakery-quality results.
Final Thoughts
Japanese Cheesecake is more than just a dessert. It’s a showcase of technique, patience, and precision. Its airy structure and subtle sweetness create a balanced treat that feels luxurious yet light.
Whether you’re baking for family, guests, or simply to challenge your baking skills, this fluffy, melt-in-your-mouth cheesecake delivers impressive results. With the detailed guidance provided here, you can confidently create a tall, jiggly masterpiece in your own kitchen.
Once you master the basic version, feel free to experiment with flavors and toppings. The foundation remains the same: gentle folding, careful baking, and patience during cooling.
This viral Japanese Cheesecake is sure to become a treasured recipe in your collection, bringing joy with every soft and delicate slice.