
Bread in a Bag: A Complete Step-by-Step Guide for Perfect Homemade Bread
Homemade bread has a special place in kitchens around the world. The aroma, the texture, and the satisfaction of creating something from simple ingredients make bread baking both comforting and rewarding. Among the many methods for making bread at home, Bread in a Bag stands out as one of the easiest, cleanest, and most engaging approaches—especially for beginners, families, and educators.
This method eliminates much of the mess traditionally associated with bread making. Instead of kneading dough on a floured countertop, the mixing and kneading happen inside a sturdy resealable bag. The result is a soft, flavorful loaf made with minimal cleanup and maximum enjoyment.
This detailed guide walks you through every step of making Bread in a Bag, explains the science behind the ingredients, provides tips for success, and includes variations and troubleshooting advice. Whether you are baking for the first time or looking for a fun and reliable method, this recipe will help you achieve excellent results.
What Is Bread in a Bag?
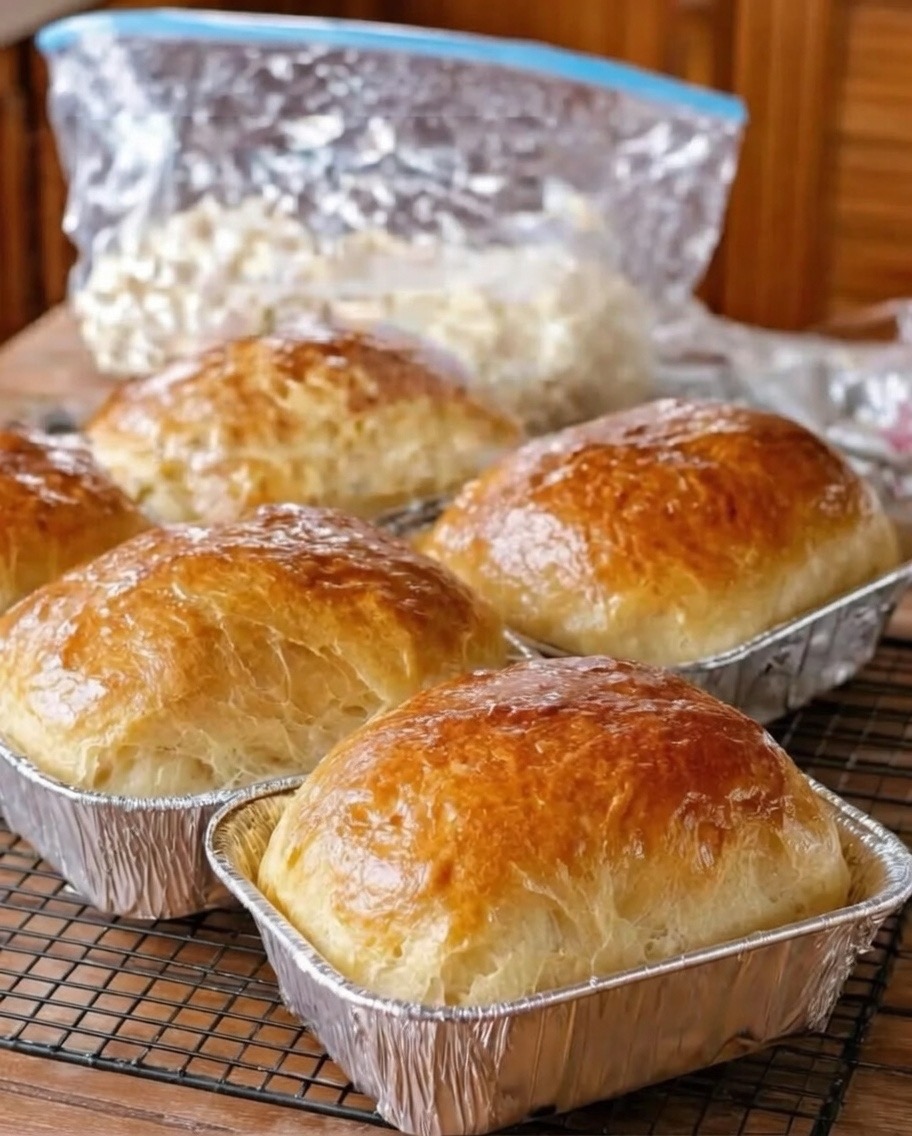
Bread in a Bag is exactly what it sounds like: a bread recipe prepared almost entirely inside a large resealable plastic bag. The ingredients are added in stages, mixed by hand through the bag, and kneaded without ever touching a countertop. Once the dough has developed properly, it is shaped and baked just like traditional bread.
This method is popular in schools, family kitchens, and beginner baking environments because it is:
- Easy to follow
- Low mess
- Educational
- Time-efficient
- Suitable for all ages
Despite its simplicity, Bread in a Bag produces a loaf that is soft, flavorful, and satisfying.
Ingredients and Their Roles
Understanding the purpose of each ingredient will help you succeed and allow you to customize the recipe with confidence.
All-Purpose Flour (3 cups)
All-purpose flour provides the structure of the bread. It contains enough protein to form gluten, which gives bread its elasticity and chew. While bread flour can be used, all-purpose flour works perfectly for this recipe and keeps the texture tender rather than overly dense.
Sugar (3 teaspoons)
Sugar serves two important purposes:
- It feeds the yeast, helping it activate and produce carbon dioxide.
- It adds a subtle sweetness that balances the flavor of the bread.
The amount used here is modest, ensuring the bread is not sweet but well-rounded.
Rapid Rise Yeast (1 packet)
Rapid rise yeast is ideal for this method because it activates quickly and reduces overall rising time. It allows the dough to rise efficiently without requiring multiple long proofing stages.
Warm Water (1 cup at 110°F)
Warm water activates the yeast. The temperature is critical:
- Too hot will kill the yeast.
- Too cold will slow or prevent activation.
A temperature of about 110°F is ideal for yeast development.
Olive Oil (3 tablespoons)
Olive oil adds moisture and richness to the dough. It also helps improve the crumb texture and keeps the bread soft for longer after baking.
Salt (1 1/4 teaspoons)
Salt enhances flavor and strengthens the gluten structure. It also regulates yeast activity, preventing the dough from rising too quickly and collapsing.
Equipment Needed
- 1 large resealable plastic bag (gallon size or larger, freezer-grade preferred)
- Measuring cups and spoons
- Baking sheet or loaf pan
- Parchment paper or light oil for greasing
- Clean kitchen towel
- Oven
Optional but helpful:
- Kitchen thermometer
- Cooling rack
Step-by-Step Directions
Step 1: Prepare the Bag
Start with a clean, sturdy resealable bag. A freezer-grade bag is recommended because it is thicker and less likely to tear during kneading.
Open the bag wide and set it upright in a bowl or container to make adding ingredients easier.
Step 2: Add Dry Ingredients
Into the bag, add:
- 3 cups all-purpose flour
- 3 teaspoons sugar
- 1 packet rapid rise yeast
Seal the bag with some air inside and gently shake to combine the dry ingredients evenly. This step ensures the yeast and sugar are distributed throughout the flour.
Step 3: Add Warm Water
Carefully open the bag and pour in:
- 1 cup warm water (110°F)
Reseal the bag, leaving some air inside. Gently squeeze and massage the bag to mix the water into the flour mixture. Continue until a thick, sticky batter forms with no dry patches.
Step 4: Add Olive Oil and Salt
Open the bag again and add:
- 3 tablespoons olive oil
- 1 1/4 teaspoons salt
Reseal the bag and begin mixing by squeezing and folding the dough through the bag. At this stage, the dough will begin to pull away from the sides and become more cohesive.
Step 5: Knead the Dough in the Bag
Turn the bag onto a flat surface. Using both hands, knead the dough through the bag by pushing, folding, and pressing it repeatedly.
Continue kneading for 8–10 minutes. During this time, the dough will:
- Become smoother
- Lose stickiness
- Develop elasticity
If the dough feels too sticky, you may sprinkle in a small amount of flour. If it feels too dry, add a few drops of water.
Step 6: First Rise
Once kneaded, shape the dough into a ball inside the bag. Lightly coat it with a thin layer of olive oil to prevent sticking.
Seal the bag loosely, leaving room for expansion. Place it in a warm, draft-free area.
Let the dough rise for 30–45 minutes, or until it has doubled in size.
Step 7: Shape the Dough
Remove the dough from the bag and gently punch it down to release excess air.
Shape it into:
- A round loaf for a baking sheet
- A log shape for a loaf pan
Place it on a parchment-lined or lightly greased baking surface.
Step 8: Second Rise
Cover the shaped dough with a clean kitchen towel.
Allow it to rise again for 20–30 minutes, until slightly puffed. This second rise improves texture and crumb structure.
Step 9: Bake the Bread
Preheat the oven to 375°F (190°C).
Bake the bread for 25–30 minutes, or until:
- The top is golden brown
- The loaf sounds hollow when tapped
- The internal temperature reaches about 190–200°F
Step 10: Cool and Serve
Remove the bread from the oven and place it on a cooling rack.
Allow it to cool for at least 20 minutes before slicing. This resting time allows the crumb to set properly.
The Science Behind Bread in a Bag
Bread making is both an art and a science. In this recipe:
- Yeast converts sugar into carbon dioxide, creating air pockets.
- Gluten strands trap those gases, allowing the dough to rise.
- Kneading aligns gluten proteins, strengthening the dough.
- Baking sets the structure as heat causes rapid expansion and crust formation.
The bag method works because kneading does not require direct contact with a countertop—pressure and folding inside the bag achieve the same gluten development.
Tips for Perfect Results
- Use fresh yeast for reliable rising.
- Measure ingredients accurately.
- Do not rush the rising process.
- Avoid overheating the water.
- Knead thoroughly for proper structure.
- Allow bread to cool before slicing.
Variations and Add-Ins
Whole Wheat Bread
Replace up to half of the all-purpose flour with whole wheat flour. Add an extra tablespoon of water if needed.
Herb Bread
Add dried herbs such as rosemary, thyme, or oregano during the dry ingredient stage.
Garlic Bread
Mix in garlic powder or roasted garlic before kneading.
Seeded Bread
Add sunflower seeds, sesame seeds, or flaxseeds during kneading for texture and nutrition.
Cheese Bread
Fold in shredded cheese after the first rise for a savory loaf.
Common Problems and Solutions
Dough Did Not Rise
- Yeast may be expired
- Water temperature may be incorrect
- Rising environment may be too cold
Bread Is Dense
- Dough may not have been kneaded enough
- Too much flour may have been added
Bread Is Dry
- Overbaking
- Too little oil or water
Why Bread in a Bag Is Ideal for Beginners
This method removes intimidation from bread baking. There is no special equipment, no advanced techniques, and no complicated steps. It allows bakers to focus on understanding the dough rather than managing a messy workspace.
It is also ideal for:
- Teaching children
- Classroom activities
- Small kitchens
- First-time bakers
Storage and Shelf Life
- Store at room temperature in a bread bag or wrapped in a towel for up to 2 days.
- Refrigeration is not recommended, as it dries out bread.
- Freeze sliced bread for up to 2 months.
Final Thoughts
Bread in a Bag proves that homemade bread does not need to be complicated. With a few basic ingredients and a simple technique, anyone can create a warm, satisfying loaf from scratch. This recipe emphasizes accessibility, learning, and enjoyment, making it perfect for everyday baking and special teaching moments alike.
Whether you are baking alone, with family, or in an educational setting, this method delivers consistent, delicious results while keeping the process simple and clean. Once you try it, Bread in a Bag is likely to become a regular part of your baking routine.