
Grandmother’s Pie Crust Recipe with Cream of Tartar
A Family Heirloom for Perfect, Flaky Apple Pie Crust
There are some recipes that are more than just instructions for cooking. They carry memories, traditions, and the quiet wisdom of generations. A handwritten recipe passed down through a family can become something truly special. It represents time spent together in the kitchen, lessons learned through experience, and the love that goes into feeding the people we care about.
This pie crust recipe is one of those treasures. Written in an old ledger book by a grandmother who carefully recorded her favorite dishes, it has been preserved and shared through the years. Among the recipes in that book were two different versions for pie crust, but one stood out above the rest. This was the one she returned to again and again, the one that produced a flaky, tender crust every time.
What made it different was a small but important ingredient: cream of tartar. According to her, this was the secret that made her pie crust special.
Today, the recipe continues its journey through the family. Just as it was once passed from grandmother to parent, it will eventually be handed down to the next generation—a daughter who will one day share it with her own children. In this way, the recipe becomes more than food; it becomes a tradition.
In this article, we will explore the story behind this pie crust recipe, the role of each ingredient, tips for achieving the perfect texture, and step-by-step instructions to ensure success. Whether you are baking your first pie or continuing a family tradition of your own, this recipe offers a simple and reliable way to create a beautiful homemade crust.
The Story Behind a Handwritten Recipe
Before recipe cards, cookbooks, and food blogs became common, many home cooks kept their favorite recipes in personal notebooks or ledger books. These books often contained years of cooking knowledge, handwritten notes, and adjustments made through experience.
A ledger book might include everything from breads and cakes to soups, preserves, and pastries. Over time, stains, smudges, and worn pages told the story of how often each recipe was used.
For many families, these books become treasured heirlooms. They capture the voice of the person who wrote them—their handwriting, their measurements, and sometimes even their little secrets.
This pie crust recipe came from such a ledger book. Among the carefully written pages were two crust recipes, but one had a small note beside it: “This one is best.”
And beside the ingredients, a comment about the unusual addition of cream of tartar.
That tiny ingredient was the grandmother’s secret.
Why Pie Crust Matters
A pie can only be as good as its crust. While fillings may vary—apple, cherry, pumpkin, peach, or pecan—the crust forms the structure that holds everything together.
A good pie crust should have several important qualities:
- Flaky texture
- Tender bite
- Buttery or rich flavor
- Ability to hold the filling without becoming soggy
Achieving all of these qualities at once requires the right balance of ingredients and technique.
Some crusts use butter. Others use shortening or lard. Each fat creates a slightly different texture. In this family recipe, Crisco shortening is used, which produces an especially tender and flaky crust.
Combined with flour, salt, and a touch of cream of tartar, the result is a reliable dough that rolls easily and bakes beautifully.
The Secret Ingredient: Cream of Tartar
Cream of tartar may seem like an unusual addition to pie crust, but it plays an important role.
Cream of tartar is a powdered acid derived from tartaric acid. It is commonly used in baking to stabilize egg whites or activate baking soda, but it also has other useful properties.
In pie crust, cream of tartar helps:
- Prevent gluten from becoming too tough
- Improve tenderness
- Add slight acidity that balances flavors
- Help maintain a lighter texture
The amount used in this recipe is small—only 1/4 teaspoon—but it contributes to the overall structure of the dough.
Many traditional bakers had little tricks like this. Sometimes the secret ingredient was vinegar, lemon juice, or cream of tartar. These subtle additions helped produce consistent results long before modern baking science explained why they worked.
For this grandmother, cream of tartar was simply the thing that made her crust better.
Ingredients
This recipe makes enough dough for several pie crusts and can easily be divided depending on your needs.
Grandmother’s Pie Crust Recipe
- 3 cups all-purpose flour
- 1/4 teaspoon cream of tartar
- 1 teaspoon salt
- 1 1/2 cups Crisco shortening
- Cold water (as needed)
These ingredients are simple and inexpensive, which is part of why the recipe has lasted so long. In earlier generations, cooks relied on recipes that used pantry staples rather than specialty ingredients.
Understanding the Ingredients
Flour
Flour forms the structure of the crust. All-purpose flour works well because it provides enough protein to hold the crust together without making it too tough.
Too much mixing can develop gluten, which is why pie dough should always be handled gently.
Salt
Salt enhances the flavor of the crust. Even in sweet pies like apple pie, a small amount of salt balances the taste and prevents the dough from tasting flat.
Crisco Shortening
Shortening creates flakiness. As the dough bakes, small pockets of fat melt and create layers in the crust.
Compared to butter, shortening has a higher melting point, which can make it easier to work with when shaping the dough.
Cream of Tartar
As mentioned earlier, cream of tartar helps soften the dough by interfering with gluten formation. The result is a more tender crust.
Cold Water
Cold water binds the ingredients together to form dough. It should always be added gradually, just until the dough comes together.
Using cold water helps keep the shortening firm, which is essential for creating flaky layers.
Step-by-Step Instructions
Step 1: Combine the Dry Ingredients
In a large mixing bowl, add:
- 3 cups flour
- 1 teaspoon salt
- 1/4 teaspoon cream of tartar
Whisk or stir the ingredients together until evenly distributed.
This step ensures that the salt and cream of tartar are fully mixed into the flour.
Step 2: Cut in the Shortening
Add 1 1/2 cups Crisco shortening to the flour mixture.
Using a pastry cutter, fork, or your fingers, cut the shortening into the flour until the mixture resembles coarse crumbs.
You should see small pea-sized pieces of shortening throughout the flour mixture. These pieces are what create the flaky texture in the finished crust.
Avoid overmixing. The mixture should remain slightly uneven.
Step 3: Add Cold Water
Slowly add cold water, one tablespoon at a time.
Gently mix with a fork until the dough begins to come together.
The goal is to add just enough water so that the dough holds together when pressed, but not so much that it becomes sticky.
Too much water can make the crust tough.
Step 4: Form the Dough
Once the dough comes together, gather it gently with your hands.
Divide it into portions depending on how many pie crusts you want to make.
Flatten each portion slightly into a disk shape, which makes it easier to roll out later.
Wrap the dough in plastic wrap or place it in a covered container.
Step 5: Chill the Dough
Place the dough in the refrigerator for at least 30 minutes.
Chilling allows the flour to hydrate and helps the fat firm up again. This makes the dough easier to roll and helps maintain flaky layers during baking.
Step 6: Roll Out the Dough
Lightly flour your work surface.
Place the chilled dough disk on the surface and sprinkle a little flour on top.
Using a rolling pin, roll the dough outward from the center until it forms a circle large enough for your pie pan.
Rotate the dough occasionally to prevent sticking.
Step 7: Transfer to the Pie Pan
Carefully lift the rolled dough and place it into the pie pan.
Press the dough gently into the bottom and sides without stretching it.
Trim any excess dough around the edges.
If you are making a double-crust pie, reserve some dough for the top crust.
Step 8: Add the Filling
At this stage, the crust is ready to be filled with your favorite pie filling.
Apple pie is a classic choice, but this crust works beautifully with many fillings, including:
- Cherry pie
- Peach pie
- Blueberry pie
- Pumpkin pie
- Custard pie
Step 9: Bake
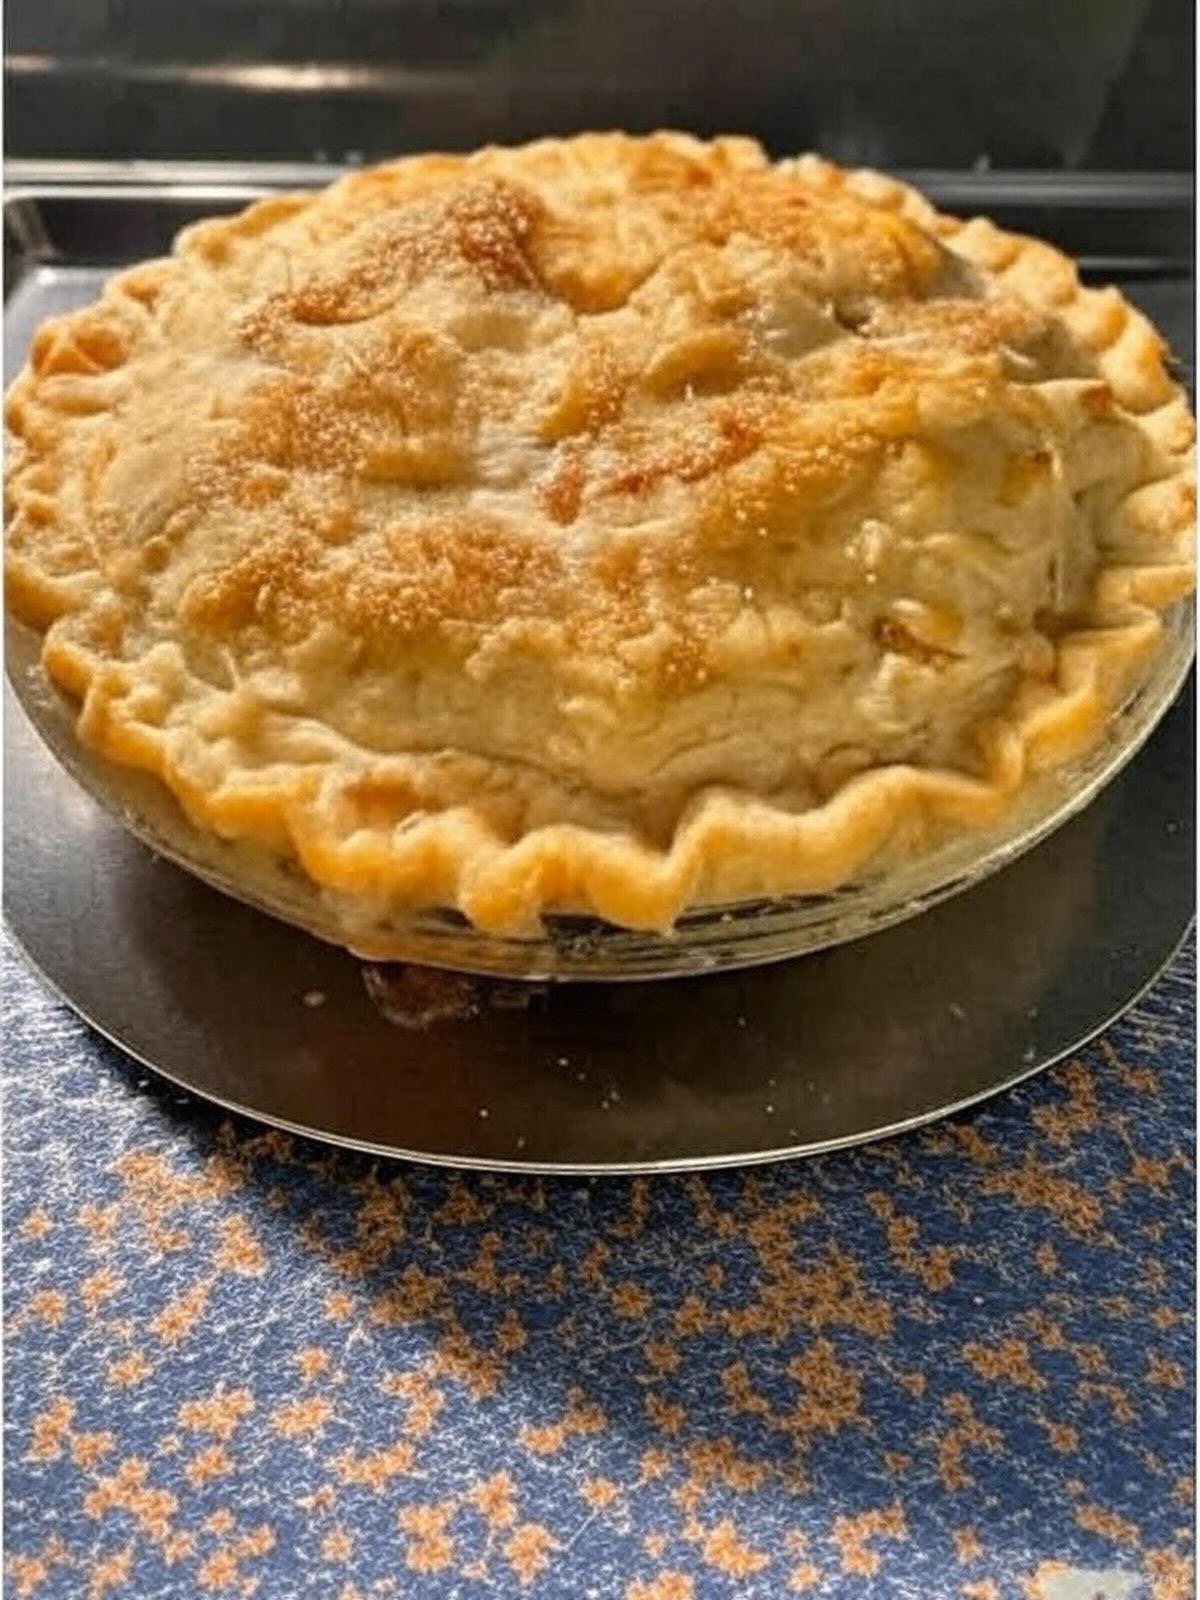
Bake the pie according to the instructions for your chosen filling recipe.
The crust will bake into a golden, flaky shell that holds the filling perfectly.
Tips for the Best Pie Crust
Even simple recipes benefit from a few helpful techniques.
Keep Everything Cold
Cold ingredients help maintain the structure of the fat in the dough. If the fat melts before baking, the crust may become dense rather than flaky.
Do Not Overwork the Dough
Handling the dough too much develops gluten, which leads to a tough crust. Mix just until the dough holds together.
Use Gentle Pressure
When rolling out the dough, use light pressure and work slowly. Forcing the dough can cause cracks and uneven thickness.
Chill if Needed
If the dough becomes soft or sticky while rolling, place it back in the refrigerator for a few minutes.
Why This Recipe Stands the Test of Time
Many modern recipes add complex steps or unusual ingredients, but traditional recipes like this one rely on simplicity.
This crust works because it balances:
- Flour for structure
- Shortening for flakiness
- Salt for flavor
- Cream of tartar for tenderness
- Water for binding
The result is a dependable dough that has worked for generations.
When something works this well, there is little reason to change it.
Passing Down the Recipe
Perhaps the most meaningful part of this recipe is not the ingredients but the tradition behind it.
Family recipes connect generations in a unique way. They create memories that go beyond taste and aroma. A child watching a parent roll out pie dough today may someday teach the same method to their own children.
In this way, recipes become part of a family story.
This pie crust began in a grandmother’s kitchen, written carefully into a ledger book so it would not be forgotten. Over the years, it continued to be used, shared, and loved.
Now it moves to the next generation.
One day, a daughter will receive the recipe. And later, she may pass it along to her own daughter.
Each time the recipe is shared, it carries with it the memory of the grandmother who first wrote it down and the simple secret she believed made it special.
Just a small amount of cream of tartar.
Final Thoughts
Baking a pie from scratch can feel like a small act of tradition. Measuring the flour, cutting in the shortening, and rolling out the dough connects the present moment to countless kitchens of the past.
This grandmother’s pie crust recipe is a reminder that the best recipes are often the simplest ones. With just a few ingredients and a bit of patience, you can create a crust that is flaky, tender, and full of character.
More importantly, you can create something worth sharing.
Whether you are baking an apple pie for a family gathering or simply enjoying the quiet rhythm of baking at home, this recipe offers a taste of tradition.
And if you write it down and pass it along, it may continue traveling through your family for many years to come.