
The Ultimate Guide to Perfect Grilled Cheese Sandwiches
Introduction
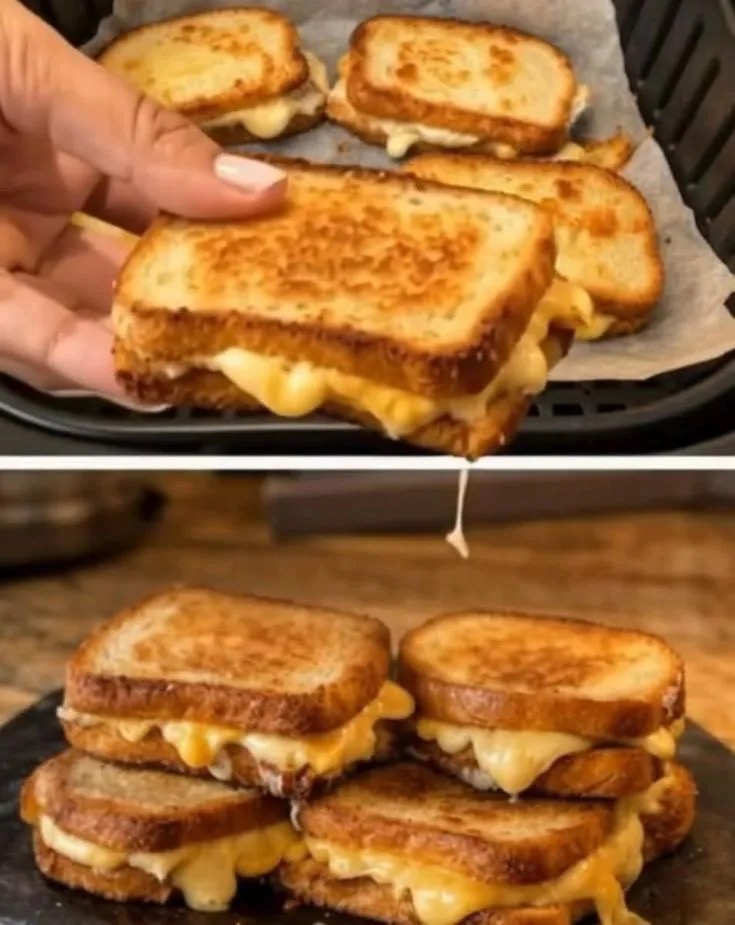
Few dishes are as universally loved and deeply comforting as the grilled cheese sandwich. Simple in concept yet endlessly customizable, this humble combination of bread, cheese, and a crispy golden exterior has stood the test of time across cultures and generations. Whether served as a quick lunch, a late-night snack, or paired with a bowl of soup for a hearty meal, grilled cheese continues to be a go-to favorite for home cooks of all skill levels.
At its core, the grilled cheese sandwich requires only a handful of ingredients: bread, cheese, and a spread such as butter or mayonnaise. However, mastering the perfect balance of crispness, melt, and flavor requires attention to detail and technique. In this comprehensive guide, you will learn everything from choosing the right ingredients to mastering cooking techniques, along with tips, variations, and serving ideas to elevate your grilled cheese from simple to exceptional.
Ingredients
- 8 slices of bread (white sandwich bread, sourdough, or your preferred variety)
- 4 to 8 slices of cheese (cheddar, mozzarella, American, or a combination)
- Butter or mayonnaise (softened, for spreading on the outside of the bread)
Choosing the Right Ingredients
Bread Selection
The bread you choose plays a crucial role in the final result. It serves as the structural foundation of the sandwich and contributes significantly to texture and flavor.
- White Sandwich Bread: Soft, mild, and classic. It crisps easily and creates a nostalgic, traditional grilled cheese.
- Sourdough: Offers a tangy flavor and sturdy structure, making it ideal for holding multiple cheese layers.
- Whole Wheat or Multigrain: Adds a nutty flavor and more texture, often considered a healthier option.
- Artisan Bread: Rustic loaves such as country bread or ciabatta can create a more gourmet experience.
The key is to use bread that is sturdy enough to hold melted cheese without becoming soggy, yet soft enough to crisp beautifully when heated.
Cheese Selection
Cheese is the star of the sandwich, and selecting the right type—or combination—can make all the difference.
- Cheddar: Sharp and flavorful, melts well and adds depth.
- Mozzarella: Mild with excellent stretch and meltability.
- American Cheese: Known for its smooth, creamy melt and consistent texture.
- Swiss: Nutty and slightly sweet, adds a unique flavor profile.
- Gouda or Fontina: Rich and creamy, ideal for gourmet variations.
For best results, combine cheeses. For example, pairing cheddar with mozzarella gives both flavor and melt, while adding a slice of American cheese ensures a smooth, creamy consistency.
Butter vs. Mayonnaise
The choice between butter and mayonnaise for the outer layer of the bread often sparks debate.
- Butter: Traditional choice. Adds rich flavor and promotes a golden, crisp crust.
- Mayonnaise: Spreads more easily and browns evenly due to its oil and egg content, resulting in a slightly crispier exterior.
Both options work well, and the choice ultimately depends on personal preference. Some cooks even use a combination for the best of both worlds.
Step-by-Step Instructions
1. Prepare the Ingredients
Start by laying out all your ingredients. Ensure the butter or mayonnaise is softened for easy spreading. If using block cheese, slice it evenly to promote uniform melting.
2. Assemble the Sandwich
Take two slices of bread and place them on a clean surface. Layer the cheese evenly on one slice, making sure it covers the entire surface to ensure consistent melting. Place the second slice of bread on top.
Repeat for the remaining slices.
3. Spread the Outer Layer
Spread butter or mayonnaise evenly on the outside of each sandwich. This is essential for achieving that crisp, golden-brown crust.
Make sure to cover the entire surface, including the edges.
4. Heat the Pan
Place a skillet or non-stick pan over medium to low heat. Allow it to warm gradually. Cooking on lower heat ensures the bread browns slowly while giving the cheese enough time to melt completely.
5. Cook the Sandwich
Place the sandwich in the pan and let it cook undisturbed for 3 to 5 minutes. Press gently with a spatula to ensure even contact with the pan.
Once the bottom is golden brown, carefully flip the sandwich and cook the other side for another 3 to 5 minutes.
6. Check for Doneness
The sandwich is ready when both sides are golden brown and the cheese inside is fully melted. If necessary, reduce the heat and cook a bit longer to allow the cheese to melt without burning the bread.
7. Rest and Serve
Remove the sandwich from the pan and let it rest for one minute before slicing. This allows the cheese to settle slightly, making it easier to cut and eat.
Slice diagonally or in halves and serve immediately.
Tips for the Perfect Grilled Cheese
- Use Low to Medium Heat: High heat may burn the bread before the cheese melts.
- Cover the Pan: Placing a lid over the pan helps trap heat and speeds up the melting process.
- Grate Your Cheese: Shredded cheese melts faster and more evenly than slices.
- Avoid Overstuffing: Too much cheese can prevent proper melting and make flipping difficult.
- Use Even Pressure: Press lightly with a spatula for an evenly crisp surface.
Variations and Enhancements
Classic Additions
- Tomato Slices: Add freshness and acidity.
- Ham or Turkey: Introduces protein and savory flavor.
- Caramelized Onions: Sweet and rich, perfect for depth.
Gourmet Options
- Add a spread such as pesto or garlic butter inside the sandwich.
- Use specialty cheeses like brie or blue cheese for a refined flavor.
- Include ingredients like mushrooms, spinach, or roasted peppers.
Sweet and Savory Twist
For a unique variation, try combining cheese with thin slices of apple or a drizzle of honey. The contrast between sweet and savory creates a memorable flavor experience.
Serving Suggestions
Grilled cheese sandwiches are versatile and pair well with a variety of sides:
- Tomato Soup: A classic combination that balances richness with acidity.
- Salads: A fresh green salad adds lightness to the meal.
- Fries or Chips: Perfect for a more indulgent serving option.
- Pickles: Their tanginess cuts through the richness of the cheese.
Storage and Reheating
Grilled cheese is best enjoyed fresh, but leftovers can be stored and reheated.
- Refrigeration: Store in an airtight container for up to 2 days.
- Reheating: Use a skillet over low heat to restore crispness. Avoid microwaving, as it can make the bread soggy.
Common Mistakes to Avoid
- Cooking at too high a temperature
- Using cold butter that tears the bread
- Not allowing enough time for the cheese to melt
- Skipping the resting step before slicing
Conclusion
The grilled cheese sandwich is a perfect example of how simple ingredients can create something truly satisfying. With just bread, cheese, and a bit of fat for crisping, you can craft a dish that is both comforting and endlessly adaptable.
By paying attention to ingredient quality, cooking technique, and creative variations, you can elevate this classic sandwich into something exceptional. Whether you prefer a traditional approach or enjoy experimenting with gourmet additions, mastering grilled cheese is a rewarding skill that will serve you well in the kitchen.
Once you understand the fundamentals, the possibilities are nearly endless.