
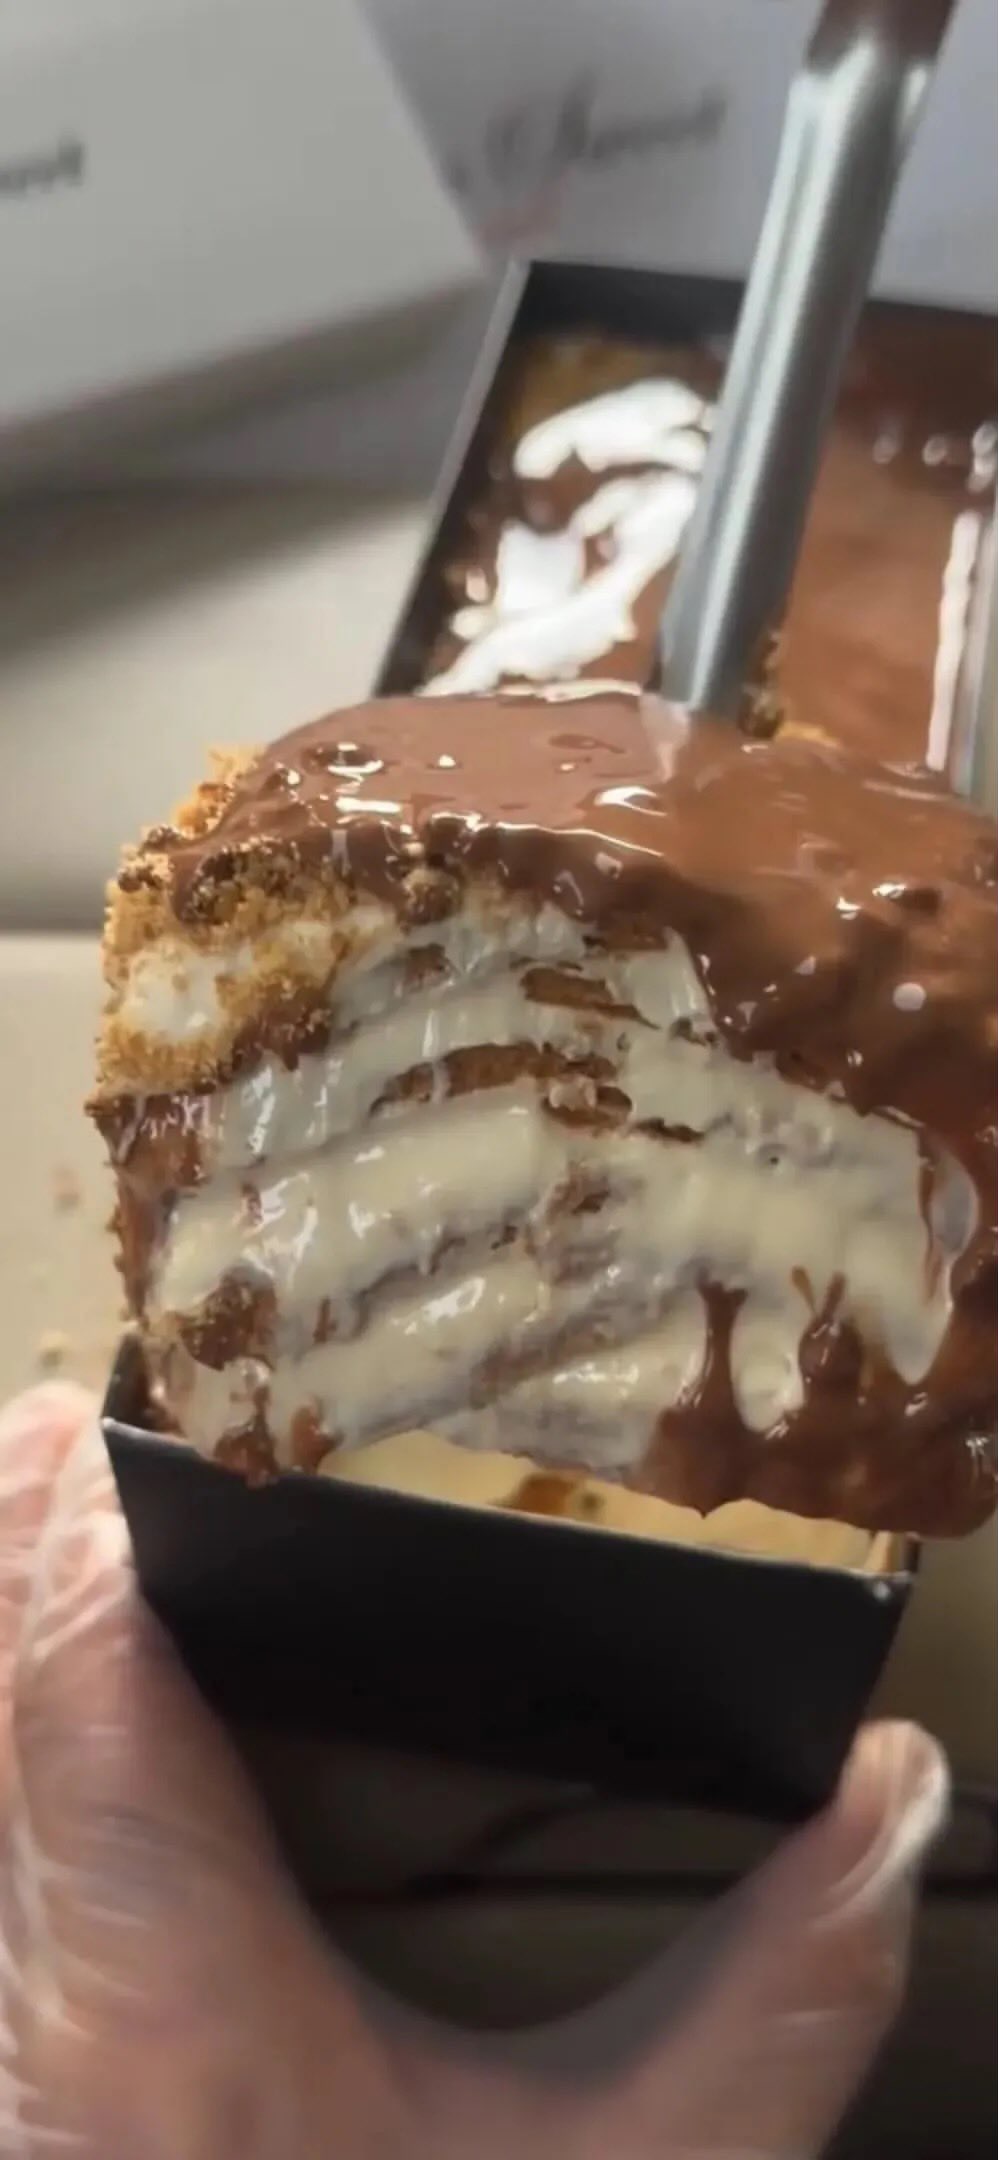
Chocolate Dream Cake
A Rich, Moist, and Decadent Chocolate Cake That Truly Lives Up to Its Name
Introduction
Chocolate cake is one of the most beloved desserts across cultures, generations, and occasions. Among the countless variations, there are a few standout recipes that earn a permanent place in home kitchens. Chocolate Dream Cake is one of them. It is known for its deep chocolate flavor, incredibly moist texture, and luxurious frosting that makes every bite feel indulgent and satisfying.
This cake is not just a dessert; it is an experience. From the moment the batter comes together to the aroma that fills the kitchen while it bakes, to the final slice served on a plate, every step contributes to something special. Whether you are baking for a celebration, a gathering, or simply to satisfy a craving, this cake delivers consistent, impressive results.
In this detailed guide, you will find everything you need to create the perfect Chocolate Dream Cake, including step-by-step instructions, expert tips, variations, and presentation ideas suitable for a professional website or blog.
Why This Chocolate Cake Stands Out
The secret behind this cake’s success lies in its balance of ingredients and techniques. It combines cocoa powder for a deep chocolate base with carefully measured leavening agents that create a light, tender crumb.
Unlike dense chocolate cakes, this one remains soft and moist for days. The addition of liquid ingredients such as milk or buttermilk ensures a smooth batter and enhances the richness without making it heavy.
The frosting complements the cake perfectly, adding a creamy, smooth layer that enhances the chocolate flavor rather than overpowering it.
Ingredients
For the Cake Batter
- 2 cups all-purpose flour
- 1 ¾ cups granulated sugar
- ¾ cup unsweetened cocoa powder
- 1 ½ teaspoons baking powder
- 1 ½ teaspoons baking soda
- 1 teaspoon salt
- 2 large eggs
- 1 cup milk or buttermilk
- ½ cup vegetable oil
- 2 teaspoons vanilla extract
- 1 cup hot water or hot coffee
For the Chocolate Frosting
- 1 cup unsalted butter, softened
- 3 ½ cups powdered sugar
- ½ cup unsweetened cocoa powder
- ½ cup heavy cream or milk
- 2 teaspoons vanilla extract
- A pinch of salt
Equipment Needed
- Mixing bowls
- Electric mixer or whisk
- Measuring cups and spoons
- 2 round cake pans (8 or 9 inches)
- Parchment paper
- Cooling rack
- Offset spatula
Step-by-Step Instructions
Step 1: Prepare the Oven and Pans
Preheat your oven to 180°C (350°F). Grease your cake pans and line them with parchment paper to prevent sticking. Lightly dust with flour or cocoa powder for extra protection.
Step 2: Mix the Dry Ingredients
In a large bowl, combine the flour, sugar, cocoa powder, baking powder, baking soda, and salt. Whisk thoroughly to ensure even distribution.
This step is essential for achieving a uniform texture throughout the cake.
Step 3: Add the Wet Ingredients
Add the eggs, milk, vegetable oil, and vanilla extract to the dry ingredients. Mix until the batter becomes smooth and well combined.
At this stage, the batter will be thick and rich.
Step 4: Incorporate Hot Liquid
Slowly pour in the hot water or coffee while mixing. This step may seem unusual, but it is crucial. The hot liquid helps bloom the cocoa powder, intensifying the chocolate flavor and creating a smoother batter.
The mixture will become thinner, which is normal.
Step 5: Divide and Bake
Pour the batter evenly into the prepared cake pans. Bake for 30 to 35 minutes, or until a toothpick inserted into the center comes out clean.
The cakes should rise evenly and develop a soft, springy texture.
Step 6: Cool the Cakes
Allow the cakes to cool in the pans for 10 to 15 minutes before transferring them to a wire rack. Let them cool completely before frosting.
Cooling is essential to prevent the frosting from melting.
Making the Chocolate Frosting
Step 1: Cream the Butter
In a mixing bowl, beat the softened butter until smooth and creamy. This creates the base for a light and fluffy frosting.
Step 2: Add Dry Ingredients
Gradually add the powdered sugar and cocoa powder, mixing on low speed to avoid spills. Once combined, increase the speed to create a smooth mixture.
Step 3: Add Liquid and Flavor
Pour in the cream or milk, along with the vanilla extract and a pinch of salt. Beat until the frosting is light, fluffy, and spreadable.
Adjust the consistency by adding more cream if needed.
Assembling the Cake
Step 1: Level the Layers
If necessary, trim the tops of the cake layers to create a flat surface. This ensures a stable and even cake.
Step 2: Add the First Layer
Place one cake layer on a serving plate. Spread a generous amount of frosting evenly over the top.
Step 3: Stack and Frost
Place the second layer on top and cover the entire cake with frosting. Use an offset spatula to smooth the sides and top.
Step 4: Decorate
You can keep the design simple or add decorative elements such as:
- Chocolate shavings
- Cocoa powder dusting
- Fresh berries
- Piped frosting details
Serving Suggestions
Chocolate Dream Cake is best served slightly at room temperature, allowing the frosting to remain soft and creamy.
It pairs beautifully with:
- A cup of coffee or espresso
- A glass of cold milk
- Fresh fruit on the side
Tips for Perfect Results
Use high-quality cocoa powder
The flavor of the cake depends heavily on the quality of the cocoa.
Do not overmix
Overmixing can result in a dense cake. Mix just until combined.
Use hot coffee instead of water
Coffee enhances the chocolate flavor without making the cake taste like coffee.
Measure ingredients accurately
Baking requires precision for consistent results.
Variations
Chocolate Ganache Cake
Replace the frosting with a smooth chocolate ganache made from cream and chocolate for a glossy finish.
Filled Chocolate Cake
Add a layer of chocolate mousse or cream filling between the cake layers for extra indulgence.
Cupcake Version
Use the same batter to make cupcakes. Adjust baking time to 18–22 minutes.
Gluten-Free Option
Substitute all-purpose flour with a gluten-free flour blend designed for baking.
Storage and Shelf Life
Store the cake in an airtight container at room temperature for up to 3 days. If refrigerated, it can last up to 5 days.
Bring to room temperature before serving for the best texture.
The cake layers can also be frozen for up to 2 months. Wrap them tightly and thaw before use.
Common Mistakes to Avoid
- Using cold ingredients, which can affect mixing
- Skipping the parchment paper, leading to sticking
- Overbaking, resulting in dryness
- Frosting the cake while it is still warm
Presentation Tips for Websites
For a professional presentation:
- Use clean, even frosting for a polished look
- Slice the cake to showcase the layers
- Photograph in natural light for better color
- Add minimal props to highlight the cake
Final Thoughts
Chocolate Dream Cake is a recipe that delivers on every level. It is rich without being overwhelming, soft without being fragile, and indulgent without being complicated.
Its versatility makes it suitable for birthdays, celebrations, or simple moments when you want something special. With the right techniques and attention to detail, you can create a cake that looks impressive and tastes even better.
By following this detailed guide, you will not only master the recipe but also gain confidence in baking one of the most classic and satisfying desserts. Each slice offers a perfect balance of flavor and texture, making it a true favorite that you will return to again and again.