
Creamy Biscoff Dessert Cups – A Rich No-Bake Lotus Biscuit Treat
Dessert lovers around the world are always searching for sweets that are both easy to prepare and incredibly satisfying. Among the many modern desserts that have gained popularity in recent years, Biscoff desserts stand out for their unique flavor, smooth texture, and irresistible caramelized biscuit taste. One of the most delightful ways to enjoy this flavor is through creamy Biscoff dessert cups layered with biscuit crumbs and smooth cream filling.
These no-bake Biscoff dessert cups are the perfect balance of crunchy and creamy. They combine crushed Biscoff biscuits, whipped cream, cream cheese, and the famous Biscoff spread to create a luxurious dessert that feels indulgent but requires very little effort to prepare. Each spoonful delivers layers of flavor: the crumbly biscuit base, the velvety cream filling, and the signature caramelized spice notes that make Biscoff biscuits so beloved.
This dessert is ideal for many occasions. It can be served as a quick family treat, a party dessert, or an elegant addition to dinner gatherings. Because the dessert is assembled in individual cups, it also looks beautiful when served, making it perfect for social media photos or dessert tables.
In this complete guide, you will learn everything about making creamy Biscoff dessert cups. From ingredients and step-by-step preparation to tips, variations, serving suggestions, and storage advice, this detailed recipe will help you create a dessert that looks professional and tastes incredible.
What Are Biscoff Dessert Cups?
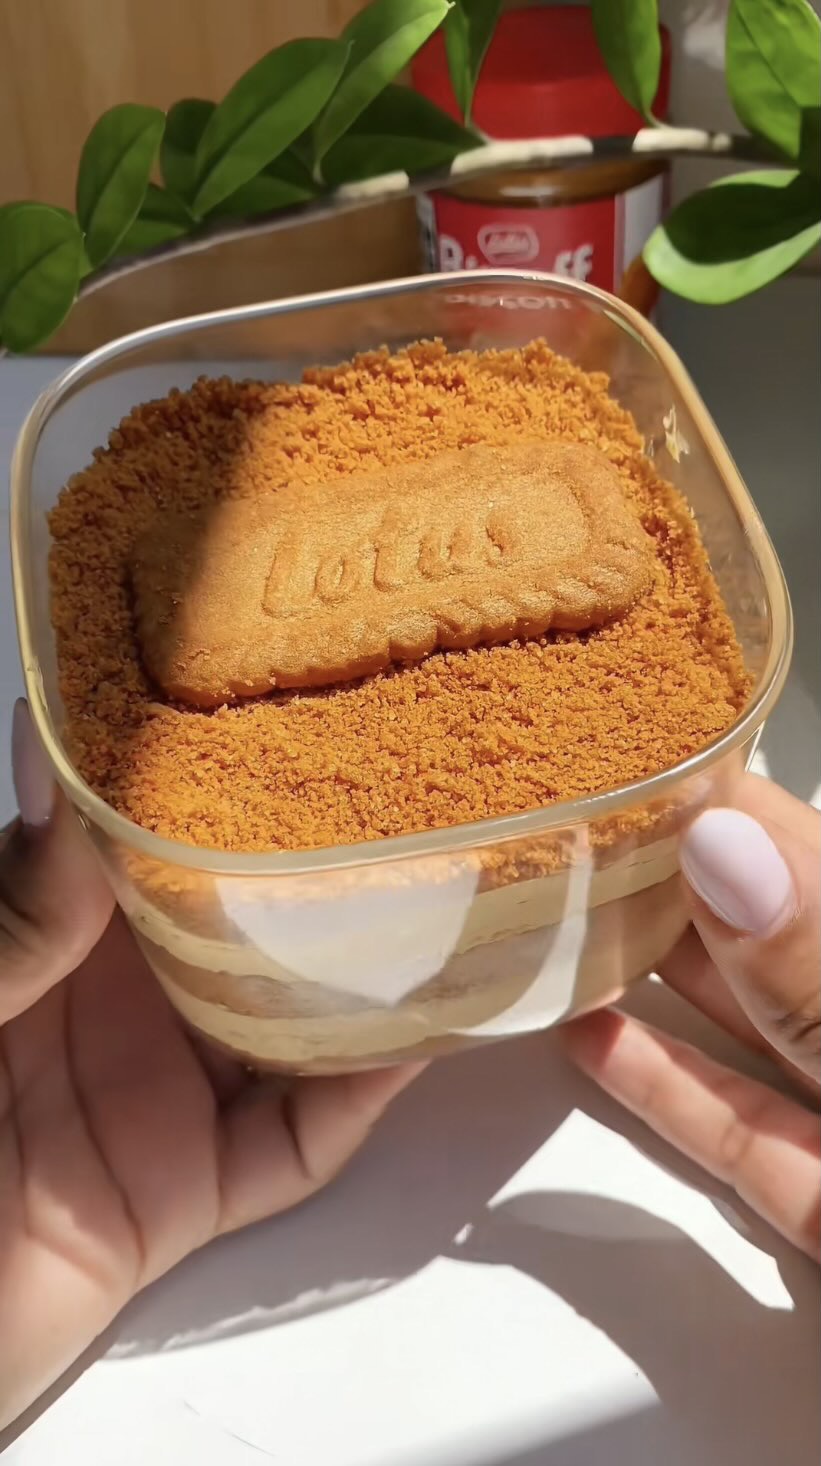
Biscoff dessert cups are layered no-bake desserts made with crushed Biscoff biscuits, creamy filling, and sometimes additional Biscoff spread. The dessert is usually assembled in small glass cups or dessert containers so that each layer is visible.
Typical layers include:
- A base layer of crushed Biscoff biscuits
- A creamy filling made from cream cheese and whipped cream
- A layer of Biscoff spread or biscuit crumbs
- A decorative topping such as a whole biscuit or extra crumbs
The result is a dessert that has both texture and richness, combining crunch with smooth creaminess.
Why This Dessert Is So Popular
There are several reasons why Biscoff dessert cups have become extremely popular among home bakers and dessert enthusiasts.
No Baking Required
One of the biggest advantages of this recipe is that it requires no oven. Everything is prepared by mixing, whipping, and layering ingredients.
Quick Preparation
The entire dessert can be assembled in about 20 to 30 minutes, making it perfect for busy schedules.
Beautiful Presentation
Because the dessert is layered in glass cups, the different textures and colors create a visually appealing treat.
Rich and Unique Flavor
Biscoff biscuits have a distinctive caramelized spice flavor that makes this dessert stand out from typical cookie desserts.
Perfect for Individual Servings
Dessert cups are convenient for serving guests because each person gets their own portion.
Ingredients
For the Biscuit Base
250 g Biscoff biscuits
3 tablespoons melted butter
For the Cream Filling
250 g cream cheese, softened
1 cup heavy whipping cream
1/2 cup Biscoff spread
1/3 cup powdered sugar
1 teaspoon vanilla extract
For the Topping
Extra crushed Biscoff biscuits
Whole Biscoff biscuits for decoration
Additional Biscoff spread (optional drizzle)
Ingredient Breakdown
Understanding the role of each ingredient will help you achieve the perfect texture and flavor.
Biscoff Biscuits
Biscoff biscuits are the heart of this dessert. These thin caramelized biscuits have a warm spice flavor similar to cinnamon and brown sugar.
They provide:
- Crunchy texture
- Distinct caramel flavor
- A beautiful golden color
When crushed, they create a crumb mixture similar to a cheesecake base.
Butter
Melted butter helps bind the biscuit crumbs together so that the base holds its shape. It also adds richness to the dessert.
Cream Cheese
Cream cheese forms the base of the creamy filling. It adds smoothness and a slight tang that balances the sweetness of the Biscoff spread.
Heavy Whipping Cream
Whipping cream is used to create a light and airy texture in the filling. When whipped, it adds volume and makes the dessert feel fluffy instead of dense.
Biscoff Spread
Biscoff spread is made from the same biscuits used in the recipe. It has a smooth, peanut butter-like consistency and intense caramel flavor.
Adding it to the filling intensifies the biscuit flavor throughout the dessert.
Powdered Sugar
Powdered sugar sweetens the cream filling while dissolving easily into the mixture.
Vanilla Extract
Vanilla enhances the flavor of the cream filling and complements the warm spice notes of the biscuits.
Equipment Needed
This recipe does not require complicated tools. The following basic kitchen equipment is sufficient.
Mixing bowls
Electric mixer or hand whisk
Food processor or rolling pin
Dessert cups or small glass containers
Spatula
Measuring cups and spoons
Step-by-Step Instructions
Step 1: Crush the Biscuits
Place the Biscoff biscuits into a food processor and pulse until they become fine crumbs.
If you do not have a food processor, place the biscuits in a sealed plastic bag and crush them with a rolling pin.
The crumbs should resemble fine sand.
Step 2: Prepare the Biscuit Base
Transfer the crushed biscuits to a bowl and add the melted butter.
Mix thoroughly until the crumbs are evenly coated and resemble wet sand.
This mixture will form the base layer of the dessert.
Step 3: Make the Cream Filling
In a large mixing bowl, beat the softened cream cheese until smooth and creamy.
Add the powdered sugar and vanilla extract, then continue mixing until fully combined.
Next, add the Biscoff spread and mix again until the mixture becomes smooth and evenly flavored.
Step 4: Whip the Cream
In a separate bowl, whip the heavy cream using an electric mixer until stiff peaks form.
This step is important because it creates the light texture of the filling.
Step 5: Combine the Cream Mixture
Gently fold the whipped cream into the Biscoff cream cheese mixture.
Use a spatula and fold slowly to keep the mixture airy.
Continue folding until the filling becomes smooth, light, and fluffy.
Assembling the Dessert Cups
First Layer: Biscuit Crumbs
Spoon a layer of biscuit crumbs into the bottom of each dessert cup.
Press lightly with the back of a spoon to create a compact base.
Second Layer: Cream Filling
Add a generous layer of the creamy Biscoff filling on top of the biscuit crumbs.
Spread evenly.
Third Layer: Biscuit Crumbs
Add another thin layer of crushed biscuits for extra texture.
Fourth Layer: Cream Filling
Repeat the cream layer again until the cup is almost full.
Final Layer: Biscuit Crumb Topping
Finish the dessert with a thick layer of finely crushed Biscoff biscuits.
Place a whole Biscoff biscuit on top for decoration.
Optional: drizzle warm Biscoff spread over the surface.
Chilling the Dessert
After assembling the cups, place them in the refrigerator for at least 2 hours.
Chilling allows:
- The layers to set
- The flavors to blend
- The cream filling to firm up
For best results, chill for 4 hours or overnight.
Tips for Perfect Biscoff Dessert Cups
Use Softened Cream Cheese
Cold cream cheese can create lumps in the filling. Allow it to sit at room temperature before mixing.
Whip the Cream Properly
The whipped cream should form stiff peaks so the dessert holds its shape.
Do Not Overmix
Overmixing can deflate the whipped cream and make the filling too dense.
Chill Before Serving
Refrigeration helps the dessert maintain its structure and improves the flavor.
Flavor Variations
Once you master the classic version, you can experiment with several delicious variations.
Chocolate Biscoff Dessert
Add melted chocolate or chocolate chips between the layers for a richer dessert.
Coffee Biscoff Dessert
Add a teaspoon of instant coffee to the cream filling for a subtle coffee flavor.
Banana Biscoff Dessert
Add thin slices of banana between the layers for a fruity twist.
Strawberry Biscoff Dessert
Fresh strawberries provide a refreshing contrast to the rich cream.
Serving Suggestions
These dessert cups are perfect for many occasions.
Serve them at:
Family dinners
Birthday parties
Holiday gatherings
Dessert buffets
Afternoon tea
They pair beautifully with:
Coffee
Cappuccino
Latte
Hot chocolate
Storage Tips
Refrigerator
Store the dessert cups in the refrigerator for up to 3 days.
Cover them with plastic wrap or airtight lids.
Freezer
These desserts can also be frozen for up to one month.
Allow them to thaw in the refrigerator before serving.
Nutritional Overview
This dessert is indulgent, so it is best enjoyed in moderation.
Each serving contains:
Carbohydrates from the biscuits
Fats from the cream and butter
Protein from the cream cheese
Despite being rich, the small serving size makes it a satisfying treat.
Common Mistakes to Avoid
Using Warm Ingredients
Warm cream or butter can affect the texture of the filling.
Skipping the Chilling Time
Without chilling, the dessert will be too soft and may not hold its layers.
Overfilling the Cups
Leave a small space at the top for decorative toppings.
Why This Dessert Works So Well
The success of this dessert comes from the balance of textures and flavors.
Crunchy biscuit crumbs provide structure and contrast.
The cream filling adds richness and smoothness.
The caramelized biscuit flavor ties everything together.
Because the recipe is simple yet impressive, it is suitable for both beginner and experienced home cooks.
Final Thoughts
Creamy Biscoff dessert cups are a wonderful example of how a few simple ingredients can create an extraordinary dessert. With layers of caramelized biscuit crumbs and light Biscoff cream filling, this treat offers a perfect combination of flavor and texture.
One of the best aspects of this recipe is its simplicity. It requires no baking, minimal equipment, and only a short preparation time. Yet the finished dessert looks elegant and tastes like something from a professional bakery.
Whether you are preparing dessert for guests, celebrating a special occasion, or simply satisfying a sweet craving, these Biscoff dessert cups are sure to impress. Once you try this recipe, it may quickly become one of your favorite go-to desserts.