
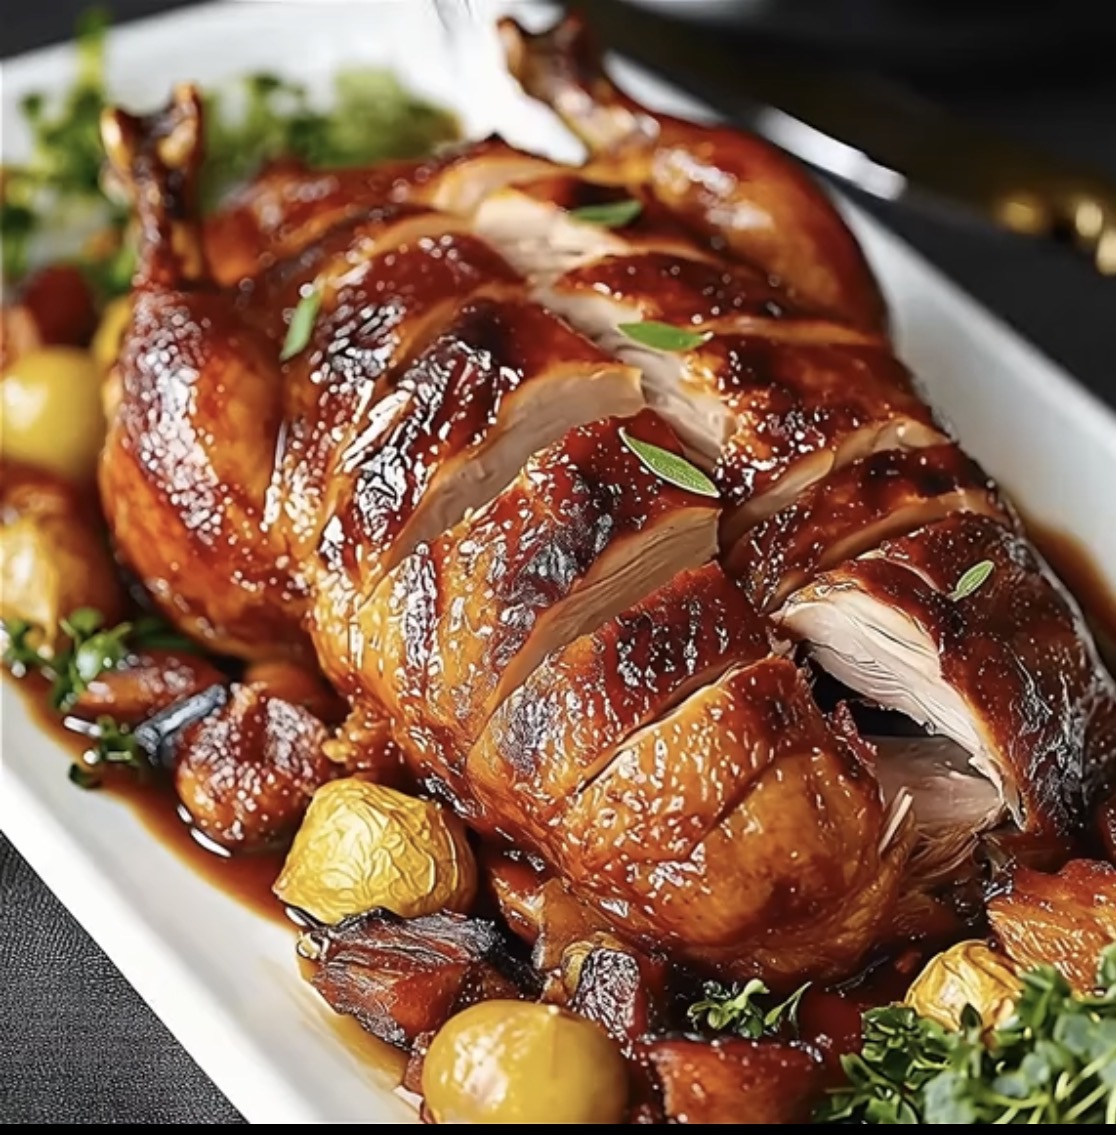
Crispy Roast Duck
A Complete Guide to Achieving Perfectly Crisp Skin and Juicy, Flavorful Meat
Roast duck is one of the most luxurious and satisfying dishes you can prepare at home. Known for its rich flavor, tender meat, and irresistibly crispy skin, it is often associated with fine dining and special occasions. However, with the right techniques and a bit of patience, you can recreate this restaurant-quality dish in your own kitchen.
This detailed guide will walk you through every step of the process, from selecting the right duck to mastering the roasting technique that delivers golden, crackling skin and perfectly cooked meat. Whether you are preparing a festive meal or simply want to elevate your cooking skills, this crispy roast duck recipe will become a standout favorite.
Why Roast Duck at Home?
Many people hesitate to cook duck because they believe it is complicated or difficult. In reality, roasting duck is straightforward once you understand the key principles.
Cooking duck at home allows you to control the seasoning and cooking process, ensuring the skin becomes properly crisp without overcooking the meat. It is also far more cost-effective than ordering it in a restaurant, where duck dishes are often expensive and served in small portions.
Another advantage is the ability to experiment with flavors. Duck pairs beautifully with a variety of seasonings, from simple salt and pepper to aromatic spices and citrus glazes.
Understanding Duck: What Makes It Unique
Duck is different from chicken or turkey in several important ways.
First, it has a higher fat content, especially beneath the skin. This fat renders during cooking, helping to baste the meat naturally while also creating the conditions for crispy skin.
Second, duck meat is darker and richer in flavor. It has a slightly gamey taste that pairs well with both sweet and savory elements.
Finally, achieving crispy skin requires proper preparation. Unlike chicken, simply roasting duck without preparation often results in rubbery skin. The techniques outlined in this guide ensure that the fat renders properly and the skin crisps up beautifully.
Ingredients
For the Duck
- 1 whole duck (2 to 2.5 kg), thawed if frozen
- 2 teaspoons salt
- 1 teaspoon black pepper
Aromatics for the Cavity
- 1 orange, quartered
- 1 onion, quartered
- 4 cloves garlic, smashed
- 1 small piece fresh ginger (optional)
Optional Glaze
- 2 tablespoons honey
- 2 tablespoons soy sauce
- 1 tablespoon vinegar or lemon juice
Equipment Needed
- Roasting pan with rack
- Sharp knife or skewer
- Paper towels
- Basting brush
- Meat thermometer
Having the right equipment makes the process easier and ensures even cooking.
Step 1: Preparing the Duck
Proper preparation is the foundation of crispy roast duck.
Remove the duck from its packaging and check the cavity for any giblets. Rinse the duck under cold water and pat it completely dry with paper towels.
Drying the skin thoroughly is crucial. Moisture is the enemy of crispiness, so take your time with this step.
Next, trim any excess fat from around the neck and cavity. Do not remove all the fat, as it is essential for flavor and moisture.
Step 2: Scoring the Skin
Using a sharp knife, carefully score the duck skin in a crosshatch pattern. Be sure to cut through the skin and fat layer, but not into the meat.
This step is essential because it allows the fat to render out during cooking. Proper rendering is what gives the duck its crispy skin instead of a chewy texture.
Take your time and make shallow, even cuts across the surface.
Step 3: Seasoning the Duck
Season the duck generously with salt and black pepper, both inside the cavity and all over the skin.
Salt plays a critical role in drying out the skin and enhancing flavor. For best results, you can season the duck and leave it uncovered in the refrigerator for several hours or overnight. This air-drying process helps achieve extra crispy skin.
Step 4: Stuffing the Cavity
Fill the cavity of the duck with aromatics such as orange, onion, garlic, and ginger.
These ingredients do not serve as a stuffing to be eaten, but rather as flavor enhancers. As the duck roasts, they release steam and infuse the meat with subtle ароматics.
Avoid overpacking the cavity, as airflow is important for even cooking.
Step 5: Preheating and Setup
Preheat your oven to 220°C.
Place the duck on a rack inside a roasting pan. The rack allows the fat to drip away from the duck, preventing it from sitting in its own grease.
Position the duck breast-side up.
Step 6: Initial High-Heat Roast
Start by roasting the duck at high temperature for 20 minutes.
This initial blast of heat helps begin the rendering process and starts crisping the skin.
Keep an eye on the duck to ensure it does not burn. If necessary, you can reduce the temperature slightly.
Step 7: Lowering the Temperature and Slow Roasting
After the initial 20 minutes, reduce the oven temperature to 180°C.
Continue roasting for about 1.5 to 2 hours, depending on the size of the duck.
During this time, the fat will slowly render out, and the meat will cook evenly.
Every 30 minutes, carefully remove the duck from the oven and drain the accumulated fat from the pan. This step is important to prevent smoking and ensure even roasting.
Step 8: Optional Glazing
If you want to add a glaze, mix honey, soy sauce, and vinegar or lemon juice.
About 20 minutes before the duck is finished cooking, brush the glaze over the skin. Return the duck to the oven and allow the glaze to caramelize.
This creates a beautiful glossy finish and adds a subtle sweet-savory flavor.
Step 9: Final Crisping
For extra crispy skin, you can increase the oven temperature back to 220°C for the last 10 to 15 minutes.
Watch closely to avoid burning. The skin should become deep golden brown and crisp.
Step 10: Checking for Doneness
The duck is fully cooked when the internal temperature reaches 75°C in the thickest part of the thigh.
The juices should run clear, and the skin should be crisp and golden.
Step 11: Resting the Duck
Remove the duck from the oven and let it rest for at least 15 to 20 minutes before carving.
Resting allows the juices to redistribute throughout the meat, ensuring it remains moist and flavorful.
Step 12: Carving and Serving
Carve the duck by removing the legs and wings first, then slicing the breast meat.
Serve immediately while the skin is still crispy.
Tips for Perfect Crispy Skin
Achieving crispy duck skin requires attention to detail.
Always dry the duck thoroughly before cooking
Score the skin properly without cutting into the meat
Use a rack to allow fat to drip away
Drain excess fat during roasting
Finish with high heat for extra crispiness
Flavor Variations
Duck is incredibly versatile and pairs well with many flavors.
Citrus Roast Duck
Add lemon, orange zest, and herbs to brighten the flavor.
Spiced Roast Duck
Use spices like cinnamon, star anise, and cloves for a warm, aromatic profile.
Garlic Herb Duck
Rub the duck with garlic, rosemary, and thyme for a classic savory taste.
Side Dishes to Serve with Roast Duck
Crispy roast duck pairs well with a variety of sides.
Roasted potatoes
Steamed vegetables
Rice or pilaf
Fresh salads with citrus dressing
The richness of the duck is balanced beautifully by lighter, fresher sides.
Storing and Reheating
Store leftover duck in an airtight container in the refrigerator for up to 3 days.
To reheat, place the duck in an oven at 180°C until warmed through. This helps maintain the crispiness of the skin.
Avoid microwaving, as it softens the skin.
Using Leftover Duck Fat
One of the hidden benefits of roasting duck is the rendered fat.
Strain and store the fat in a jar in the refrigerator. It can be used for roasting potatoes, vegetables, or even frying eggs. Duck fat adds incredible flavor to any dish.
Common Mistakes to Avoid
Not drying the duck properly
Skipping the scoring step
Cooking at one constant temperature without adjustment
Not draining the fat during roasting
Cutting into the duck too soon without resting
Avoiding these mistakes will significantly improve your results.
Final Thoughts
Crispy roast duck is a dish that combines technique, patience, and attention to detail. While it may seem intimidating at first, following the steps in this guide will help you achieve consistently excellent results.
The reward is a beautifully roasted duck with crackling skin and tender, flavorful meat that rivals even the best restaurant versions.
Once you master this recipe, it will become a centerpiece dish for special occasions and gatherings. The combination of rich taste, crispy texture, and impressive presentation makes it truly unforgettable.
Take your time, respect the process, and enjoy the satisfaction of creating a classic dish that never goes out of style.