
My Favorite All-Time Birthday Cake
A Rich, Moist Celebration Cake That Everyone Ends Up Fighting Over
There are cakes you bake once and forget about, and then there are cakes that become part of your life. This is one of those recipes that people don’t just enjoy—they request it every single year. It becomes the official birthday cake, the “no substitutes allowed” dessert, and the kind of cake that disappears faster than you expect.
What makes this cake so special is not just the flavor, but the balance of texture, richness, and softness. It is moist without being heavy, sweet without being overwhelming, and indulgent without feeling complicated. It is the kind of cake that makes people go back for a second slice even when they claim they are full.
This recipe is designed to be your go-to celebration cake: reliable, deeply satisfying, and impressive enough for birthdays, parties, and special occasions. It is also simple enough that you can bake it at home without professional equipment.
Why This Cake Is So Loved
A truly great birthday cake needs to do more than just taste good. It needs to feel like a celebration. This cake succeeds because:
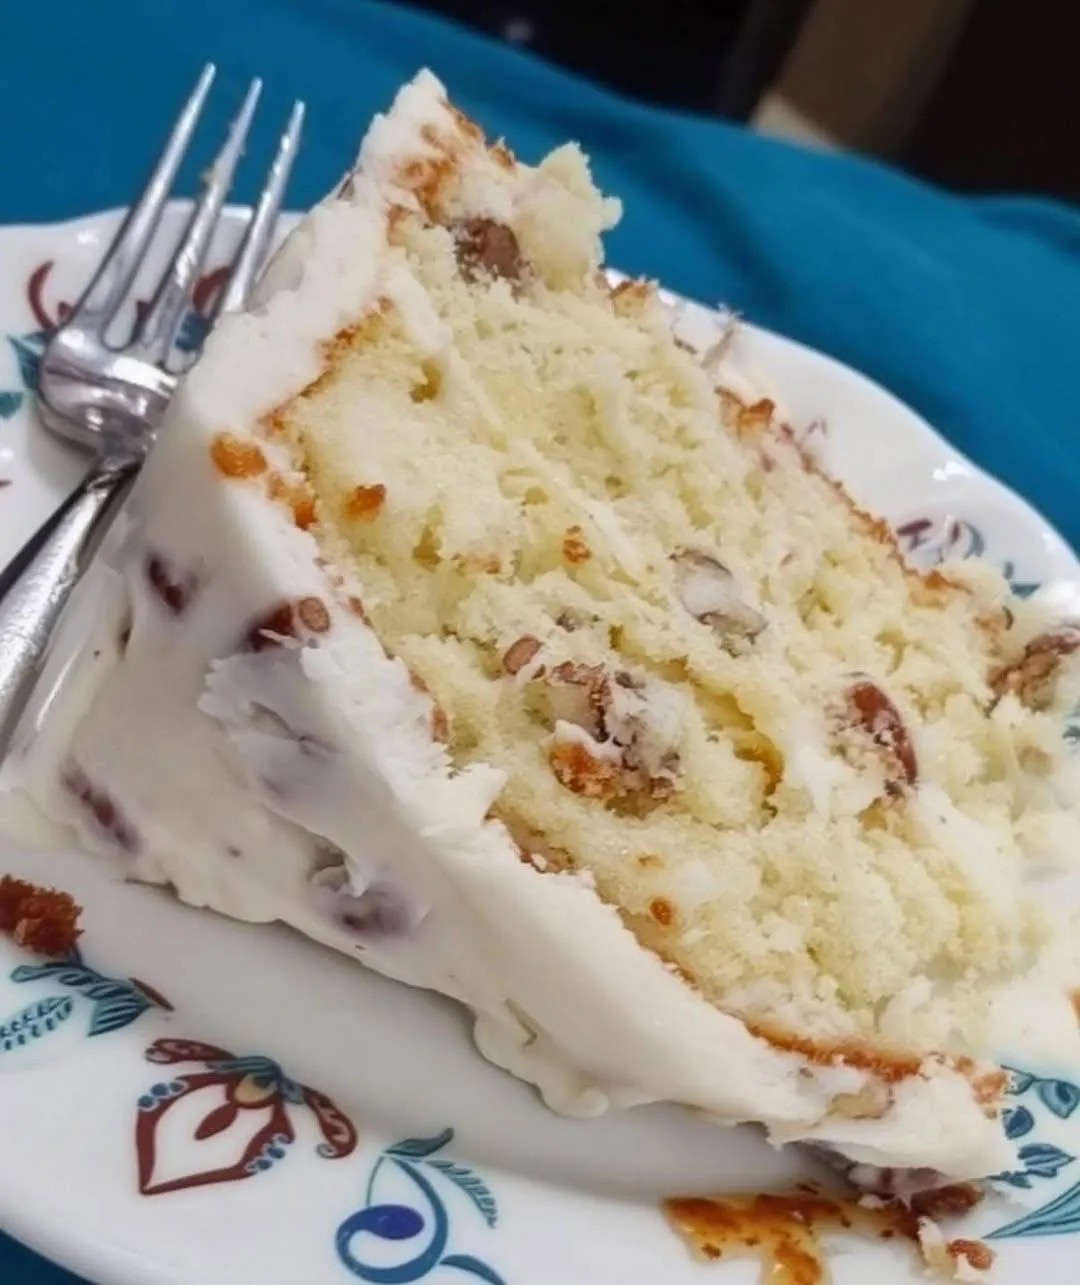
- The sponge is soft, moist, and tender
- The flavor is rich and balanced, not overly sweet
- The frosting is creamy, smooth, and stable
- The layers hold together beautifully when sliced
- It tastes even better the next day
The combination of a deep chocolate sponge with silky vanilla buttercream creates a contrast that keeps every bite interesting. It is indulgent but not overwhelming, which is why people often end up eating more than they planned.
Ingredients
For the Chocolate Cake Layers
- 2 cups all-purpose flour
- 2 cups granulated sugar
- 3/4 cup unsweetened cocoa powder
- 2 teaspoons baking powder
- 1 1/2 teaspoons baking soda
- 1 teaspoon salt
- 2 large eggs
- 1 cup whole milk
- 1/2 cup vegetable oil
- 2 teaspoons vanilla extract
- 1 cup hot water or hot coffee
For the Vanilla Buttercream Frosting
- 1 cup unsalted butter, softened
- 3 1/2 cups powdered sugar
- 2–3 tablespoons heavy cream or milk
- 2 teaspoons vanilla extract
- Pinch of salt
Optional Filling Add-Ons
- Chocolate ganache
- Strawberry jam
- Caramel sauce
- Crushed cookies or chocolate chips
For Decoration (Optional)
- Chocolate shavings
- Sprinkles
- Fresh berries
- Extra frosting piping
Equipment Needed
- Two or three 8-inch round cake pans
- Mixing bowls
- Electric mixer or hand whisk
- Rubber spatula
- Cooling rack
- Offset spatula for frosting
- Serrated knife for leveling cakes
Step 1: Preparing the Cake Pans
Preheat your oven to 175°C (350°F).
Grease your cake pans with butter or oil, then lightly dust them with flour. You can also line the bottoms with parchment paper to ensure easy release.
Properly preparing your pans is essential because this cake has a soft crumb, and you want to avoid sticking or breaking.
Step 2: Mixing the Dry Ingredients
In a large mixing bowl, sift together:
- Flour
- Cocoa powder
- Baking powder
- Baking soda
- Salt
- Sugar
Mixing dry ingredients thoroughly ensures even distribution of leavening agents, which helps the cake rise evenly.
The sugar is included here because it helps break up lumps in the cocoa and creates a smoother batter later.
Step 3: Mixing the Wet Ingredients
In another bowl, whisk together:
- Eggs
- Milk
- Oil
- Vanilla extract
Mix until smooth and fully combined.
The oil is key in this recipe because it keeps the cake moist even after refrigeration. Unlike butter-based cakes, oil ensures softness over several days.
Step 4: Combining Wet and Dry Mixtures
Slowly pour the wet ingredients into the dry mixture.
Mix gently using a spatula or mixer on low speed until just combined. Do not overmix, as this can make the cake dense.
At this stage, the batter will be thick.
Step 5: Adding Hot Water or Coffee
Carefully pour in the hot water or hot coffee while mixing.
The batter will become thin—this is normal.
Hot liquid helps bloom the cocoa powder, deepening the chocolate flavor and creating a moist, tender crumb.
Coffee enhances the chocolate taste without making the cake taste like coffee.
Step 6: Baking the Cake
Divide the batter evenly between your prepared cake pans.
Tap the pans lightly on the counter to remove air bubbles.
Bake for 30–35 minutes, or until a toothpick inserted in the center comes out clean.
Avoid opening the oven too early, as this can cause the cake to sink.
Once baked, remove from the oven and allow the cakes to cool in the pans for 10–15 minutes before transferring them to a cooling rack.
Let them cool completely before frosting.
Step 7: Preparing the Buttercream Frosting
In a large bowl, beat the softened butter until smooth and creamy. This usually takes 2–3 minutes.
Gradually add powdered sugar, one cup at a time, mixing well after each addition.
Add vanilla extract and salt.
Pour in cream or milk gradually until you reach a smooth, spreadable consistency.
Beat the frosting for several minutes until light and fluffy.
The longer you whip, the lighter the frosting becomes.
Step 8: Leveling the Cakes
Once the cakes are completely cool, use a serrated knife to trim the tops if they are domed.
This step ensures even layers and a stable cake structure.
You can also split each cake layer horizontally if you want more layers.
Step 9: Assembling the Cake
Place the first cake layer on your serving plate.
Spread an even layer of frosting on top.
Add optional filling if desired, such as ganache or jam.
Repeat with remaining layers.
Once all layers are stacked, apply a thin crumb coat of frosting over the entire cake. This seals in crumbs and creates a smooth base.
Refrigerate for 20–30 minutes to set the crumb coat.
Step 10: Final Frosting Layer
After chilling, apply the final thick layer of frosting.
Use an offset spatula to smooth the sides and top.
You can create decorative swirls or keep it smooth for a clean finish.
Step 11: Decorating the Cake
Decoration is where you can personalize the cake:
- Pipe frosting borders
- Add chocolate shavings on top
- Decorate with berries for freshness
- Sprinkle crushed cookies or candies
- Write messages with icing
Keep it simple or go fully extravagant depending on the occasion.
Step 12: Chilling and Serving
Refrigerate the cake for at least 1 hour before slicing. This helps it set and makes cutting cleaner.
When serving, use a sharp knife dipped in warm water for smooth slices.
Tips for the Perfect Birthday Cake
Do Not Overmix
Overmixing creates a dense texture instead of a soft crumb.
Use Room Temperature Ingredients
This ensures smoother batter and even baking.
Measure Accurately
Baking is sensitive to ratios, especially for flour and cocoa.
Cool Completely Before Frosting
Warm cake will melt frosting and ruin structure.
Variations
Vanilla Birthday Cake
Replace cocoa powder with extra flour and increase vanilla for a classic version.
Marble Cake
Swirl vanilla and chocolate batters together for a two-tone effect.
Strawberry Birthday Cake
Add strawberry puree and fresh fruit layers.
Chocolate Ganache Cake
Replace buttercream with rich chocolate ganache for a more intense dessert.
Storage
- Store in the refrigerator for up to 5 days
- Keep covered to prevent drying
- Let sit at room temperature for 20–30 minutes before serving
Common Mistakes to Avoid
- Using cold ingredients
- Overbaking the cake layers
- Frosting a warm cake
- Skipping the crumb coat
- Adding too much flour
Why People Love This Cake So Much
This cake has a way of becoming “the one.” It is not just dessert—it becomes tradition. People request it again and again because it delivers everything a birthday cake should: comfort, joy, indulgence, and nostalgia.
It is the kind of cake that disappears quickly at parties, where someone always slices a “small piece” and comes back for a second slice anyway. And sometimes, as often happens, it somehow ends up almost finished before the celebration is even over.
Final Thoughts
A great birthday cake is more than just a recipe—it is a memory in the making. This one earns its place as a favorite because it consistently delivers on taste, texture, and celebration value.
Whether you bake it once a year or every month, it remains the kind of cake that brings people together, sparks joy, and quietly becomes a tradition.
And if it disappears a little too fast each time, that is usually how you know it is the right recipe.