
No-Bake Oreo Cheesecake Cups with Chocolate Ganache
Introduction
Desserts that combine simplicity with indulgence are always a crowd-pleaser, and few flavor combinations are as universally loved as Oreos and cream. These No-Bake Oreo Cheesecake Cups with Chocolate Ganache deliver rich, creamy textures and deep chocolate flavor without the need for an oven, making them ideal for beginners, busy schedules, or warm weather when baking feels like too much effort.
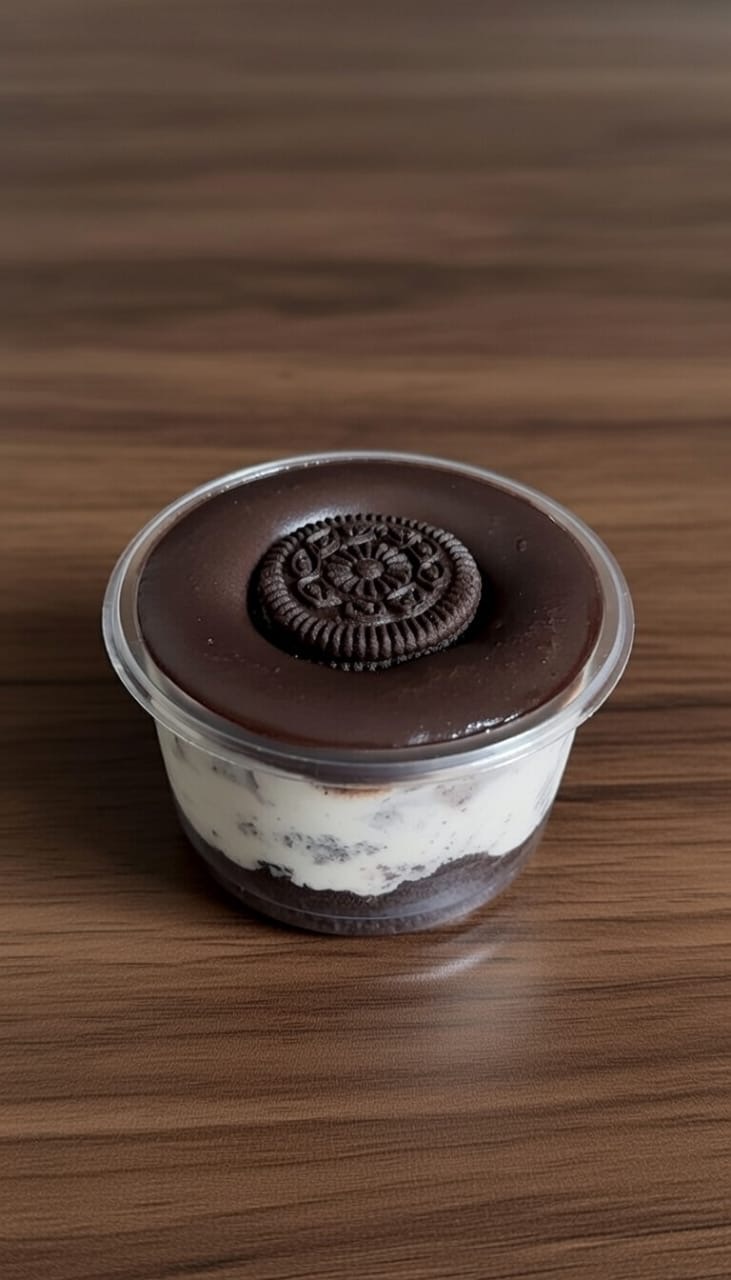
This recipe transforms classic cheesecake into elegant individual portions layered with a buttery Oreo base, a light and fluffy cream cheese filling loaded with crushed cookies, and a smooth chocolate ganache topping. Each cup is finished with a whole Oreo for decoration, making it visually striking and irresistibly delicious.
Whether you are preparing dessert for a dinner party, a family gathering, or simply treating yourself, these cheesecake cups strike the perfect balance between indulgent and approachable. They require minimal equipment, use easy-to-find ingredients, and can be prepared ahead of time, making them as practical as they are impressive.
Why You’ll Love This Recipe
There are many reasons this dessert deserves a place in your recipe collection:
- No baking required – perfect for hot days or when oven space is limited
- Individual portions – elegant presentation and easy serving
- Rich yet light texture – creamy without feeling heavy
- Customizable – adaptable to different flavors, toppings, and dietary needs
- Beginner-friendly – simple steps with professional-level results
This dessert is especially popular because it feels luxurious while remaining uncomplicated. The contrast between crunchy cookie crumbs, airy cheesecake filling, and silky chocolate ganache creates layers of flavor and texture that keep people coming back for more.
Ingredients Overview
This recipe is divided into three components: the Oreo base, the creamy cheesecake layer, and the chocolate ganache topping. Each layer plays an essential role in the final result.
For the Oreo Base
- 10–12 Oreo cookies, finely crushed
- Approximately 2 tablespoons melted butter (optional, but recommended for better binding)
The base provides structure and crunch. The butter helps the crumbs hold together, creating a stable foundation that contrasts beautifully with the creamy layers above.
For the Creamy Cheesecake Layer
- 200–250 grams cream cheese or mascarpone, softened
- 150–200 milliliters heavy or whipping cream, cold
- 3–4 tablespoons powdered sugar
- 1 teaspoon vanilla extract
- 4–6 Oreo cookies, crushed into small pieces
This layer is the heart of the dessert. Cream cheese offers tang and richness, while whipped cream lightens the texture. Mascarpone can be used for a softer, more delicate flavor.
For the Chocolate Ganache Topping
- 100 grams dark or milk chocolate, finely chopped
- 80–100 milliliters heavy cream
Ganache adds depth and a glossy finish. Dark chocolate creates a more intense contrast, while milk chocolate offers a sweeter, creamier result.
Decoration
- 1 whole Oreo cookie per cup
Equipment Needed
You don’t need special tools to make this recipe, but the following items will make the process smoother:
- Mixing bowls
- Electric hand mixer or stand mixer
- Rubber spatula
- Food processor or rolling pin for crushing cookies
- Small saucepan or microwave-safe bowl
- Serving cups or jars (glass works best for presentation)
Step-by-Step Instructions
Step 1: Prepare the Oreo Base
Begin by crushing the Oreo cookies into fine crumbs. This can be done using a food processor or by placing the cookies in a sealed plastic bag and crushing them with a rolling pin. Aim for a sand-like texture with no large chunks.
Transfer the crumbs to a bowl. If using melted butter, pour it over the crumbs and mix until evenly coated. The mixture should resemble wet sand and hold together when pressed.
Spoon the crumb mixture into the bottom of each serving cup. Press down firmly using the back of a spoon or a small glass to create a compact base. Place the cups in the refrigerator while you prepare the next layer. Chilling helps the base set and prevents it from mixing with the cheesecake layer.
Step 2: Make the Cheesecake Filling
In a large mixing bowl, add the softened cream cheese or mascarpone. Beat on medium speed until completely smooth and free of lumps. This step is crucial for achieving a silky final texture.
Add the powdered sugar and vanilla extract. Continue mixing until fully incorporated. Scrape down the sides of the bowl to ensure even blending.
In a separate chilled bowl, whip the cold heavy cream until soft to medium peaks form. Be careful not to overwhip, as the cream should remain light and airy.
Gently fold the whipped cream into the cream cheese mixture using a spatula. Use slow, sweeping motions to preserve the airiness. Once fully combined, fold in the crushed Oreo pieces.
The result should be a thick, fluffy, cookies-and-cream filling with visible cookie bits throughout.
Step 3: Assemble the Cheesecake Cups
Remove the cups with the chilled Oreo base from the refrigerator. Spoon or pipe the cheesecake filling on top of the base, filling each cup nearly to the top.
Smooth the surface gently with a spoon or spatula. Return the cups to the refrigerator and allow them to chill for at least 30 minutes. This helps the filling firm up slightly before adding the ganache.
Step 4: Prepare the Chocolate Ganache
Place the chopped chocolate in a heatproof bowl.
Heat the heavy cream in a small saucepan over medium heat until it begins to steam. Do not let it boil. Alternatively, heat the cream in the microwave in short intervals.
Pour the hot cream over the chopped chocolate. Let it sit undisturbed for 2–3 minutes to allow the chocolate to melt. Then stir gently until smooth and glossy.
Allow the ganache to cool slightly before pouring. It should still be fluid but not hot.
Step 5: Add the Ganache Topping
Carefully spoon or pour the ganache over the chilled cheesecake layer, spreading it evenly to the edges.
Tap the cups gently on the counter to release any air bubbles and level the surface.
Place the cups back in the refrigerator and chill for at least 2 hours, or until fully set.
Step 6: Decorate and Serve
Just before serving, place one whole Oreo cookie on top of each cup. This simple decoration adds height, texture, and instant recognition.
Serve chilled for the best flavor and texture.
Texture and Flavor Notes
One of the standout features of this dessert is its layered texture. The base offers a firm crunch, the cheesecake layer is smooth and airy, and the ganache adds a rich, velvety finish. The sweetness is balanced by the slight bitterness of chocolate and the tanginess of cream cheese, making each bite satisfying without being overwhelming.
Storage and Make-Ahead Tips
These cheesecake cups are ideal for preparing in advance.
- Refrigeration: Store covered in the refrigerator for up to 3 days.
- Freezing: They can be frozen without the Oreo decoration for up to one month. Thaw overnight in the refrigerator before serving.
- Transporting: Use jars with lids for easy transport to parties or picnics.
Variations and Customizations
Chocolate Lovers Version
Use dark chocolate Oreos for the base and filling, and top with dark chocolate ganache for an intense chocolate experience.
White Chocolate Version
Replace the ganache with white chocolate and add white chocolate chips to the filling.
Mint Oreo Cheesecake Cups
Add a few drops of peppermint extract to the filling and use mint Oreos for a refreshing twist.
Peanut Butter Oreo Cheesecake
Swirl smooth peanut butter into the cheesecake layer or add a thin peanut butter layer between the base and filling.
Common Mistakes and How to Avoid Them
- Lumpy filling: Always soften cream cheese fully before mixing.
- Runny cheesecake: Ensure the whipped cream reaches soft peaks and fold gently.
- Grainy ganache: Do not overheat the cream or stir too aggressively.
Serving Suggestions
These cheesecake cups pair beautifully with coffee, espresso, or cold milk. They also work well as part of a dessert table alongside fruit-based desserts for contrast.
For a more elegant presentation, serve them in clear glass jars or stemless wine glasses to showcase the layers.
Final Thoughts
These No-Bake Oreo Cheesecake Cups with Chocolate Ganache are proof that impressive desserts don’t have to be complicated. With simple ingredients and straightforward steps, you can create a dessert that looks professional, tastes indulgent, and satisfies a wide range of palates.
Perfect for celebrations, casual gatherings, or quiet evenings at home, this recipe is versatile, reliable, and endlessly customizable. Once you try it, it’s likely to become a staple in your dessert rotation.