
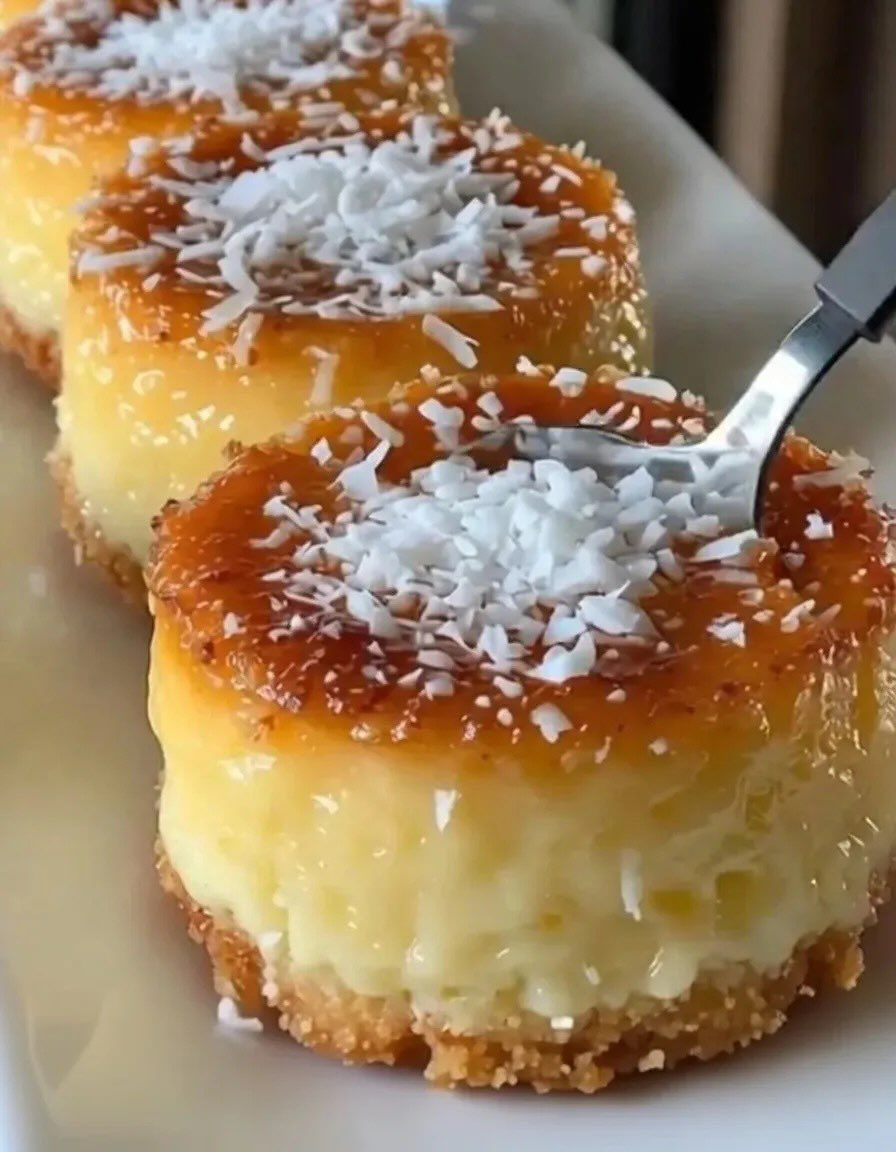
Pineapple Coconut Cheesecake Tarts
A Tropical Dessert with Creamy Texture, Bright Flavor, and a Buttery Crunch
Introduction
Pineapple Coconut Cheesecake Tarts are a delightful fusion of tropical flavors and classic dessert indulgence. Combining the tangy sweetness of pineapple with the rich creaminess of cheesecake and the subtle nuttiness of coconut, these tarts are perfect for anyone who enjoys a balance of freshness and decadence. Their small, individual size makes them ideal for entertaining, portion control, or simply elevating an everyday dessert into something special.
These tarts are built on a buttery graham cracker crust, filled with a smooth coconut-infused cheesecake mixture, and often topped with a pineapple layer or garnish that adds both visual appeal and flavor contrast. Whether served at a summer gathering, holiday table, or as a personal treat, they offer a refreshing twist on traditional cheesecake.
This detailed guide will walk you through every step of preparing Pineapple Coconut Cheesecake Tarts—from understanding each ingredient’s role to mastering the baking process and presentation techniques. By the end, you will not only have a reliable recipe but also the confidence to customize and perfect it.
Ingredients
For the Crust
- 1 1/2 cups crushed graham crackers
- 1/4 cup granulated sugar
- 1/2 cup unsalted butter, melted
For the Cheesecake Filling
- 8 oz cream cheese, softened
- 1/2 cup granulated sugar
- 1/2 cup sour cream
- 1/2 cup coconut cream
Optional Additions for Flavor and Topping
- 1 cup crushed pineapple (drained thoroughly)
- 1 teaspoon vanilla extract
- 1/2 teaspoon coconut extract (optional, for enhanced flavor)
- Whipped cream for garnish
- Toasted coconut flakes
- Pineapple chunks or slices
Understanding the Ingredients
Each component in this recipe plays a crucial role in achieving the perfect balance of flavor and texture.
Graham Crackers:
These form the base of the tart. When crushed and combined with butter and sugar, they create a firm yet slightly crumbly crust that contrasts beautifully with the creamy filling.
Butter:
Melted butter binds the crust together and adds richness. Using unsalted butter allows you to control the overall saltiness of the dessert.
Cream Cheese:
This is the heart of the cheesecake filling. It provides the dense, creamy texture and slightly tangy flavor that defines cheesecake.
Sour Cream:
Adds a subtle tang and helps create a smoother, lighter consistency.
Coconut Cream:
This ingredient infuses the filling with a rich coconut flavor and contributes to the silky texture. It is thicker and more concentrated than coconut milk.
Pineapple:
Brings a bright, tropical acidity that balances the richness of the cheesecake. It must be well-drained to avoid excess moisture.
Equipment Needed
- Muffin tin or tart pan
- Paper liners or lightly greased molds
- Mixing bowls
- Electric mixer or whisk
- Measuring cups and spoons
- Spoon or flat-bottomed glass for pressing crust
- Oven
Step-by-Step Instructions
Step 1: Preparing the Crust
Begin by preheating your oven to 325°F (160°C). This moderate temperature ensures even baking without over-browning.
In a medium mixing bowl, combine the crushed graham crackers and granulated sugar. Stir until evenly distributed. Add the melted butter and mix thoroughly until the texture resembles wet sand.
Line a muffin tin with paper liners or lightly grease each cavity. Spoon about 1 to 2 tablespoons of the crust mixture into each section. Press the mixture firmly into the bottom using the back of a spoon or a small glass. Make sure the crust is compact and even.
Bake the crusts for about 5 to 7 minutes. This step helps set the base and enhances its flavor. Remove from the oven and allow them to cool while you prepare the filling.
Step 2: Preparing the Cheesecake Filling
In a large mixing bowl, beat the softened cream cheese until smooth and free of lumps. This step is crucial; any lumps at this stage will remain in the final texture.
Gradually add the granulated sugar and continue mixing until fully incorporated. Scrape down the sides of the bowl as needed.
Add the sour cream and coconut cream, mixing until the batter becomes smooth and creamy. If using vanilla or coconut extract, add them at this stage.
If you choose to include pineapple in the filling, gently fold in the drained crushed pineapple. Be careful not to overmix, as this can introduce too much air into the batter.
Step 3: Assembling the Tarts
Spoon the cheesecake filling evenly over the cooled crusts. Fill each cup nearly to the top, leaving a small margin to prevent overflow during baking.
Gently tap the muffin tin on the counter to release any trapped air bubbles.
Step 4: Baking
Place the filled muffin tin in the oven and bake for 18 to 22 minutes. The centers should be slightly jiggly but not liquid.
Avoid overbaking, as this can cause cracks and a dry texture. The tarts will continue to set as they cool.
Once baked, turn off the oven and let the tarts sit inside with the door slightly open for about 10 minutes. This gradual cooling helps prevent cracking.
Step 5: Cooling and Chilling
Remove the tarts from the oven and allow them to cool completely at room temperature. Once cooled, transfer them to the refrigerator and chill for at least 2 to 3 hours, or preferably overnight.
Chilling is essential for achieving the perfect cheesecake texture and allowing the flavors to fully develop.
Topping and Presentation
Before serving, you can enhance your tarts with a variety of toppings:
- A spoonful of crushed pineapple
- A swirl of whipped cream
- A sprinkle of toasted coconut flakes
- A small pineapple wedge for decoration
These additions not only improve the visual appeal but also intensify the tropical theme.
Tips for Success
Use Room Temperature Ingredients:
Cold cream cheese can result in a lumpy batter. Allow it to soften before mixing.
Drain Pineapple Thoroughly:
Excess liquid can affect the consistency of the filling and prevent proper setting.
Do Not Overmix:
Overmixing introduces air, which can cause cracks during baking.
Bake Gently:
A moderate oven temperature ensures even cooking without drying out the filling.
Chill Properly:
Patience is key. Proper chilling improves both texture and flavor.
Variations
This recipe is highly adaptable. Here are a few ideas to customize your tarts:
Mango Coconut Cheesecake Tarts:
Replace pineapple with mango puree or diced mango.
Chocolate Coconut Version:
Add melted chocolate to the filling and top with chocolate shavings.
No-Bake Option:
Skip the eggs (if using any variation with eggs) and use gelatin or whipped cream to stabilize the filling. Chill until firm.
Gluten-Free Crust:
Use gluten-free graham crackers or almond flour as a substitute.
Storage Instructions
Store the tarts in an airtight container in the refrigerator for up to 4 days. For longer storage, they can be frozen for up to 2 months. Thaw in the refrigerator before serving.
Serving Suggestions
These tarts are best served chilled. They pair beautifully with:
- Fresh fruit salads
- Iced tea or tropical juices
- Light coffee or espresso
Their refreshing flavor makes them especially suitable for warm weather, though they can be enjoyed year-round.
Nutritional Overview
While indulgent, these tarts can be enjoyed in moderation. Using lighter cream cheese or reducing sugar can make them slightly healthier without compromising flavor too much.
Conclusion
Pineapple Coconut Cheesecake Tarts are a perfect example of how simple ingredients can come together to create something extraordinary. The crisp graham cracker crust, creamy coconut filling, and bright pineapple notes make each bite satisfying and memorable.
With careful preparation and attention to detail, this recipe yields a dessert that is both visually stunning and delicious. Whether you are baking for guests or simply treating yourself, these tarts offer a reliable and rewarding experience.
By following this comprehensive guide, you can confidently create a dessert that feels both professional and personal, capturing the essence of tropical flavors in every bite.