
Rustic No-Knead Rosemary Garlic Bread
There are few things as comforting as the smell of freshly baked bread filling the kitchen. It’s warm, earthy, and deeply nostalgic, evoking memories of quiet mornings, shared meals, and simple pleasures. This Rustic No-Knead Rosemary Garlic Bread is the kind of recipe that feels timeless—minimal effort, humble ingredients, and a result that tastes like it came from a small countryside bakery.
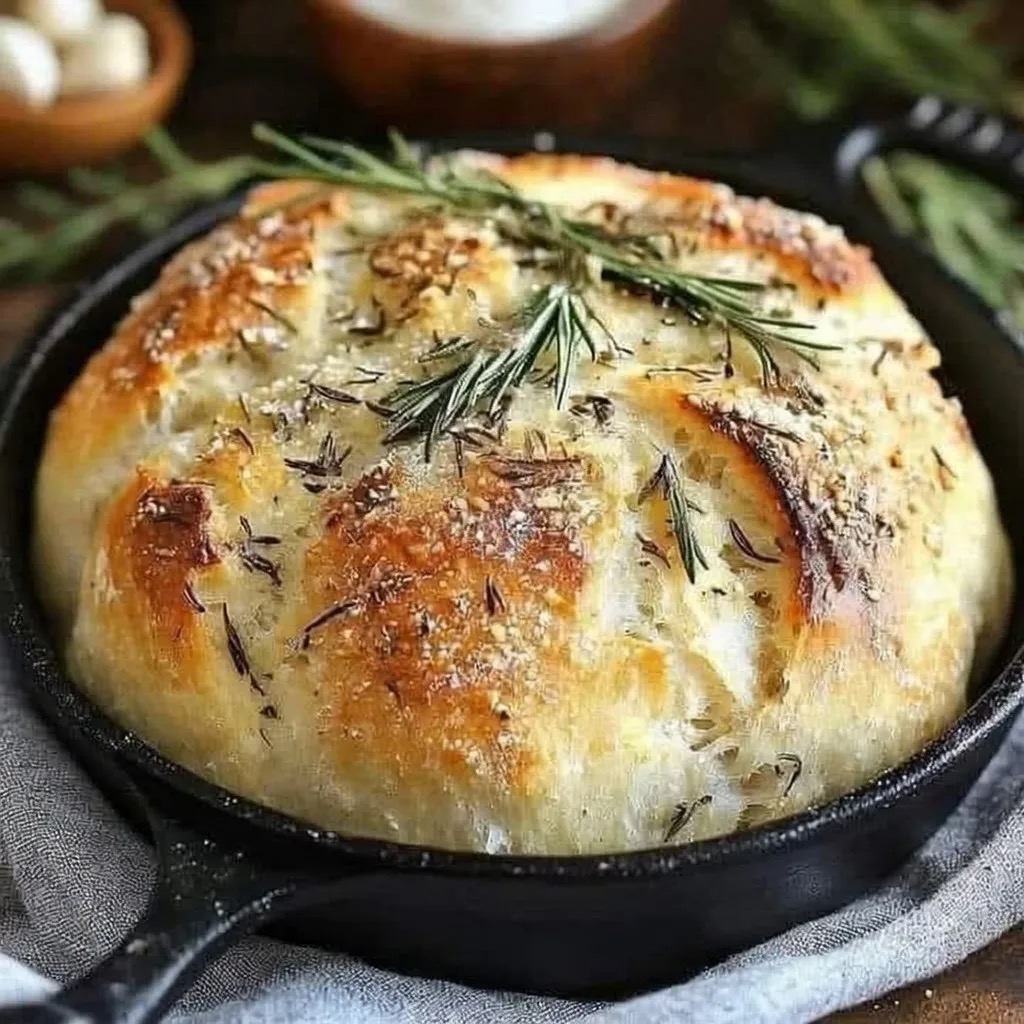
This bread is crusty on the outside, soft and airy on the inside, and infused with the aromatic flavors of fresh rosemary and garlic. It requires no kneading, no special equipment, and very little hands-on time. Instead, it relies on patience, time, and a bit of yeast magic to transform a shaggy dough into a beautiful loaf with deep flavor and texture.
Whether you are new to bread baking or a seasoned home baker looking for a reliable, unfussy loaf, this recipe delivers every time. It pairs perfectly with soups, stews, pasta, roasted vegetables, or simply a generous drizzle of olive oil and a sprinkle of sea salt. Once you make it, it’s likely to become a staple in your kitchen.
Why No-Knead Bread Works
Traditional bread recipes often call for extensive kneading to develop gluten, which gives bread its structure and chew. No-knead bread takes a different approach. Instead of mechanical kneading, it relies on a long fermentation period. Over time, the gluten forms naturally as the dough rests, resulting in a loaf that is just as structured and flavorful as kneaded bread.
This slow fermentation also allows the yeast to develop more complex flavors, giving the bread a slightly tangy, bakery-style taste. The high hydration of the dough (meaning it contains a lot of water) contributes to an open crumb with irregular air pockets—one of the hallmarks of rustic artisan bread.
The result is a loaf that looks impressive, tastes deeply flavorful, and requires very little effort.
Ingredients and Their Roles
Understanding the purpose of each ingredient will help you get the best results and feel confident making adjustments if needed.
All-Purpose Flour (3 cups)
All-purpose flour is accessible and reliable, making it perfect for this recipe. It provides enough protein to form gluten while keeping the crumb tender. If you prefer a slightly chewier loaf, you can substitute up to one cup with bread flour.
Garlic (3 cloves, minced)
Fresh garlic adds depth and savory warmth to the bread. Minced finely, it distributes evenly throughout the dough, ensuring every bite has a subtle garlic presence without overpowering the rosemary.
Fresh Rosemary (1 tablespoon, finely chopped)
Rosemary brings a piney, aromatic quality that complements the garlic beautifully. Fresh rosemary is strongly recommended, as dried rosemary can be too woody and intense for this recipe.
Kosher Salt (1¼ teaspoons)
Salt is essential for flavor and structure. It enhances the taste of the bread while also controlling yeast activity, ensuring a steady fermentation.
Freshly Ground Black Pepper (¾ teaspoon)
Black pepper adds a gentle warmth and complexity that elevates the bread from simple to memorable. It pairs especially well with rosemary and garlic.
Instant Yeast (½ teaspoon)
This small amount of yeast is all you need thanks to the long fermentation. Instant yeast is convenient because it can be mixed directly into the flour without blooming.
Water (1½ cups, room temperature)
Water hydrates the flour and activates the yeast. Room temperature water is ideal to encourage slow, even fermentation.
Cornmeal (2 tablespoons)
Cornmeal is used to prevent sticking and add texture to the bottom of the loaf. It also gives the bread a rustic, artisanal appearance.
Equipment You’ll Need
- Large mixing bowl
- Wooden spoon or silicone spatula
- Plastic wrap or clean kitchen towel
- Parchment paper
- Dutch oven with lid (or heavy oven-safe pot)
- Cooling rack
A Dutch oven is key to achieving a crackly, golden crust. It traps steam during baking, which allows the bread to rise fully before the crust sets.
Step-by-Step Instructions
Step 1: Mix the Dough
In a large mixing bowl, combine the flour, minced garlic, chopped rosemary, kosher salt, black pepper, and instant yeast. Stir well to evenly distribute the ingredients.
Add the water and mix using a wooden spoon or spatula until a shaggy, sticky dough forms. The dough will look rough and uneven, and that is exactly what you want. Do not overmix.
Once all the flour is incorporated, scrape down the sides of the bowl if needed.
Step 2: First Rise (Long Fermentation)
Cover the bowl with plastic wrap or a clean kitchen towel. Let the dough rest at room temperature for 12 to 18 hours. The ideal environment is a draft-free spot with a temperature between 65°F and 75°F.
During this time, the dough will rise significantly, becoming bubbly and elastic. The surface should be dotted with small bubbles, and the dough should look loose and sticky.
This long rise is where the flavor develops, so do not rush it.
Step 3: Shape the Dough
Lightly flour a clean work surface. Turn the dough out onto the surface and sprinkle a little flour on top. Using floured hands, gently fold the dough over itself a few times to form a rough ball. Do not knead.
Place a piece of parchment paper on the counter and sprinkle it generously with cornmeal. Transfer the dough onto the parchment, seam side down.
Cover loosely with a towel and let rest for 30 to 45 minutes while the oven preheats.
Step 4: Preheat the Oven and Dutch Oven
Place your Dutch oven, with the lid on, into the oven. Preheat the oven to 450°F (230°C). Allow the Dutch oven to heat for at least 30 minutes.
This step is essential for achieving maximum oven spring and a crisp crust.
Step 5: Bake the Bread
Carefully remove the hot Dutch oven from the oven. Lift the parchment paper and gently lower the dough into the pot. Cover with the lid.
Bake for 30 minutes with the lid on. This creates steam, allowing the bread to rise fully.
After 30 minutes, remove the lid and continue baking for another 12 to 15 minutes, or until the loaf is deep golden brown and the crust is firm.
The bread is done when it sounds hollow when tapped on the bottom.
Step 6: Cool Completely
Remove the bread from the Dutch oven and place it on a cooling rack. Allow it to cool for at least one hour before slicing.
Cutting too early can result in a gummy interior, so patience is important.
Tips for Success
- Use fresh rosemary for the best flavor.
- Do not add extra flour to the dough during mixing; it should be sticky.
- Allow enough time for the long rise—this is where the magic happens.
- Always preheat the Dutch oven thoroughly.
- Let the bread cool fully before slicing.
Variations and Add-Ins
This recipe is incredibly versatile. Here are a few ideas to customize your loaf:
- Add grated Parmesan or Pecorino Romano for a cheesy version.
- Mix in roasted garlic instead of raw for a sweeter flavor.
- Add chopped olives or sun-dried tomatoes for a Mediterranean twist.
- Substitute half the flour with whole wheat flour for a heartier loaf.
Serving Suggestions
This Rustic No-Knead Rosemary Garlic Bread is delicious served warm with butter or olive oil. It pairs beautifully with:
- Creamy soups and stews
- Pasta dishes with tomato or cream sauces
- Roasted vegetables
- Cheese boards and charcuterie
It also makes excellent toast and can be used for sandwiches or panini.
Storage and Freezing
Store leftover bread at room temperature, loosely wrapped in a kitchen towel or paper bag, for up to two days. Avoid plastic, as it softens the crust.
To freeze, wrap the cooled loaf tightly in plastic wrap and then in foil. Freeze for up to three months. Thaw at room temperature and reheat in a 350°F oven for 10 minutes to refresh the crust.
Final Thoughts
This Rustic No-Knead Rosemary Garlic Bread is proof that great bread doesn’t have to be complicated. With just a handful of ingredients and a little patience, you can create a loaf that rivals anything from an artisan bakery. The combination of garlic and rosemary is classic, comforting, and endlessly versatile, making this bread suitable for everyday meals and special occasions alike.
Once you experience the satisfaction of pulling this golden loaf from the oven, you may find yourself baking it again and again. It’s simple, reliable, and deeply rewarding—the kind of recipe every home baker should have in their collection.