
The Ultimate Homemade Crispy Fried Chicken Recipe
A Complete Guide to Perfectly Crunchy, Juicy Fried Chicken Every Time
There is something undeniably satisfying about biting into a perfectly fried piece of chicken. The sound of that crispy crust cracking under your teeth, followed by the burst of juicy, flavorful meat inside, is an experience that fast-food versions rarely live up to. While mall fried chicken might be convenient, it often comes at a high price with small portions and inconsistent quality. Making fried chicken at home not only saves money, but also allows you to control every aspect of the flavor, texture, and freshness.
This comprehensive guide will walk you through everything you need to know to create restaurant-quality crispy fried chicken right in your own kitchen. From selecting the best ingredients to mastering frying techniques, this is the only recipe you will ever need.
Why Make Fried Chicken at Home?
Before diving into the recipe, it is important to understand why homemade fried chicken is worth the effort.
First, cost efficiency plays a major role. Instead of paying a high price for a single serving, you can prepare an entire pot of fried chicken for a fraction of the cost. This makes it perfect for families or gatherings.
Second, quality control is unmatched. You choose the chicken, the oil, the seasoning, and the cooking method. There are no shortcuts or hidden ingredients.
Finally, customization allows you to adjust flavors to your liking. Whether you prefer it spicy, extra crispy, or deeply seasoned, homemade fried chicken can be tailored exactly to your taste.
Ingredients
For the Chicken Marinade
- 1 whole chicken (cut into 8–10 pieces) or 1.5–2 kg chicken parts
- 2 cups buttermilk (or milk with 1 tablespoon vinegar or lemon juice)
- 1 tablespoon salt
- 1 teaspoon black pepper
- 1 teaspoon paprika
- 1 teaspoon garlic powder
- 1 teaspoon onion powder
For the Seasoned Flour Coating
- 3 cups all-purpose flour
- 2 tablespoons cornstarch
- 1 tablespoon salt
- 1 tablespoon paprika
- 1 teaspoon cayenne pepper (optional)
- 1 teaspoon black pepper
- 1 teaspoon garlic powder
- 1 teaspoon onion powder
- 1 teaspoon dried thyme
- 1 teaspoon dried oregano
For Frying
- 1 to 1.5 liters vegetable oil (or peanut oil for best flavor)
Step 1: Preparing the Chicken
Start by cleaning and cutting your chicken into pieces if it is not already prepared. The most common cuts include drumsticks, thighs, wings, and breasts. Each piece offers a slightly different texture, but all work beautifully when fried properly.
Pat the chicken dry with paper towels. This step is important because removing excess moisture helps the marinade stick better and improves the final crispiness.
Step 2: Marinating for Flavor and Juiciness
Marination is one of the most crucial steps in achieving flavorful fried chicken. In a large bowl, combine the buttermilk with salt, pepper, paprika, garlic powder, and onion powder.
Submerge all the chicken pieces in the mixture, ensuring they are fully coated. Cover and refrigerate for at least 4 hours, but ideally overnight.
This step does two important things. First, the buttermilk tenderizes the chicken, making it incredibly juicy. Second, it infuses the meat with flavor from the inside, ensuring every bite is delicious.
Step 3: Preparing the Perfect Coating
In a separate large bowl, mix together the flour, cornstarch, and all the spices listed for the coating.
The addition of cornstarch is essential. It creates a lighter, crispier crust that stays crunchy longer. The blend of spices ensures that the coating is flavorful and not bland.
For extra texture, you can take a few tablespoons of the marinade and sprinkle it into the flour mixture. This creates small clumps that will result in a craggier, crunchier crust when fried.
Step 4: Dredging the Chicken
Remove the chicken pieces from the marinade, allowing excess liquid to drip off.
Coat each piece thoroughly in the seasoned flour mixture. Press the flour firmly onto the chicken to ensure it sticks well.
For an extra crispy coating, you can double dredge:
- Dip the floured chicken back into the marinade briefly
- Coat it again in the flour mixture
Place the coated chicken on a tray and let it rest for 10–15 minutes. This resting period helps the coating adhere better during frying.
Step 5: Choosing the Right Oil and Temperature
The type of oil and frying temperature are key to success.
Use a neutral oil with a high smoke point, such as vegetable oil or peanut oil. Heat the oil in a deep pot or heavy skillet to approximately 170–175°C.
Maintaining the correct temperature is critical. If the oil is too hot, the outside will burn before the inside cooks. If it is too cool, the chicken will absorb too much oil and become greasy.
Step 6: The Frying Technique
Carefully place a few pieces of chicken into the hot oil. Do not overcrowd the pan, as this lowers the oil temperature and affects the crispiness.
Fry the chicken in batches, turning occasionally to ensure even cooking.
Cooking times:
- Small pieces (wings): 8–10 minutes
- Drumsticks and thighs: 12–15 minutes
- Breasts: 15–18 minutes
The chicken should be golden brown and have an internal temperature of at least 75°C.
One of the secrets to perfect fried chicken is patience. Avoid flipping too frequently, as this can disrupt the coating.
Step 7: Draining and Resting
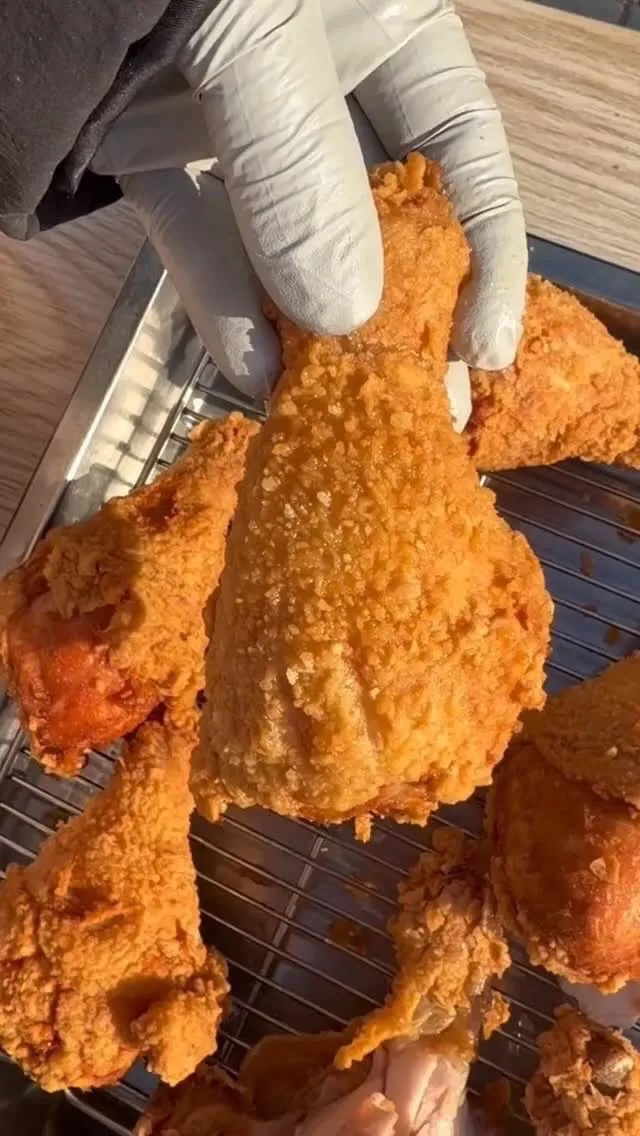
Once cooked, remove the chicken and place it on a wire rack instead of paper towels. This prevents the bottom from becoming soggy and keeps the crust crispy.
Let the chicken rest for a few minutes before serving. This allows the juices to redistribute inside the meat.
Tips for Extra Crispy Fried Chicken
Achieving the perfect crunch requires attention to detail. Here are some expert tips:
Use cornstarch in the flour mixture for a lighter texture
Let the coated chicken rest before frying
Maintain a consistent oil temperature
Fry in small batches to avoid overcrowding
Use a wire rack instead of paper towels
Flavor Variations
One of the best things about homemade fried chicken is how versatile it is.
Spicy Version
Add extra cayenne pepper or chili powder to the flour mixture for a fiery kick.
Garlic Lover’s Version
Increase the garlic powder and add a bit of garlic paste to the marinade.
Herb-Infused Version
Add fresh or dried herbs like rosemary, thyme, or parsley for a more aromatic flavor.
Serving Suggestions
Fried chicken pairs well with a variety of side dishes. Some classic options include:
Mashed potatoes
Coleslaw
French fries
Cornbread
Macaroni and cheese
You can also serve it with dipping sauces such as honey mustard, spicy mayo, or barbecue sauce.
Common Mistakes to Avoid
Even simple recipes can go wrong without the right technique.
Avoid skipping the marinade, as it is essential for juicy chicken
Do not fry at the wrong temperature
Do not overcrowd the pan
Do not skip resting the chicken after coating and frying
Storage and Reheating
If you have leftovers, store them in an airtight container in the refrigerator for up to 3 days.
To reheat, avoid using a microwave as it softens the crust. Instead, place the chicken in an oven at 180°C for about 10–15 minutes to restore crispiness.
Final Thoughts
Homemade crispy fried chicken is more than just a meal; it is a rewarding cooking experience. By following the steps in this guide, you can achieve a level of quality that rivals or even surpasses restaurant versions.
The combination of a well-seasoned marinade, a perfectly balanced coating, and proper frying technique results in chicken that is crispy on the outside and juicy on the inside every single time.
Once you master this recipe, you may never want to go back to expensive takeout again. Not only will you save money, but you will also enjoy larger portions, better flavor, and the satisfaction of creating something truly delicious from scratch.
Take your time, follow the process, and enjoy every bite.